


Sailing Vessel Beruta Ship's Log
Hobsobville Marina - Gulf Harbour Marina
Friday 28 April 2023
This is the beginning of the end of a round the world journey I started 14 years ago.
When I attempted to replace a sheave at the mast top, I managed to entangle the lead line inside the mast. It was a bad idea dropping a thin rope (actually the fishing line) with a weight at the end). It spun and went around thick radar cable and stuck. This meant that I had to unstep the mast.
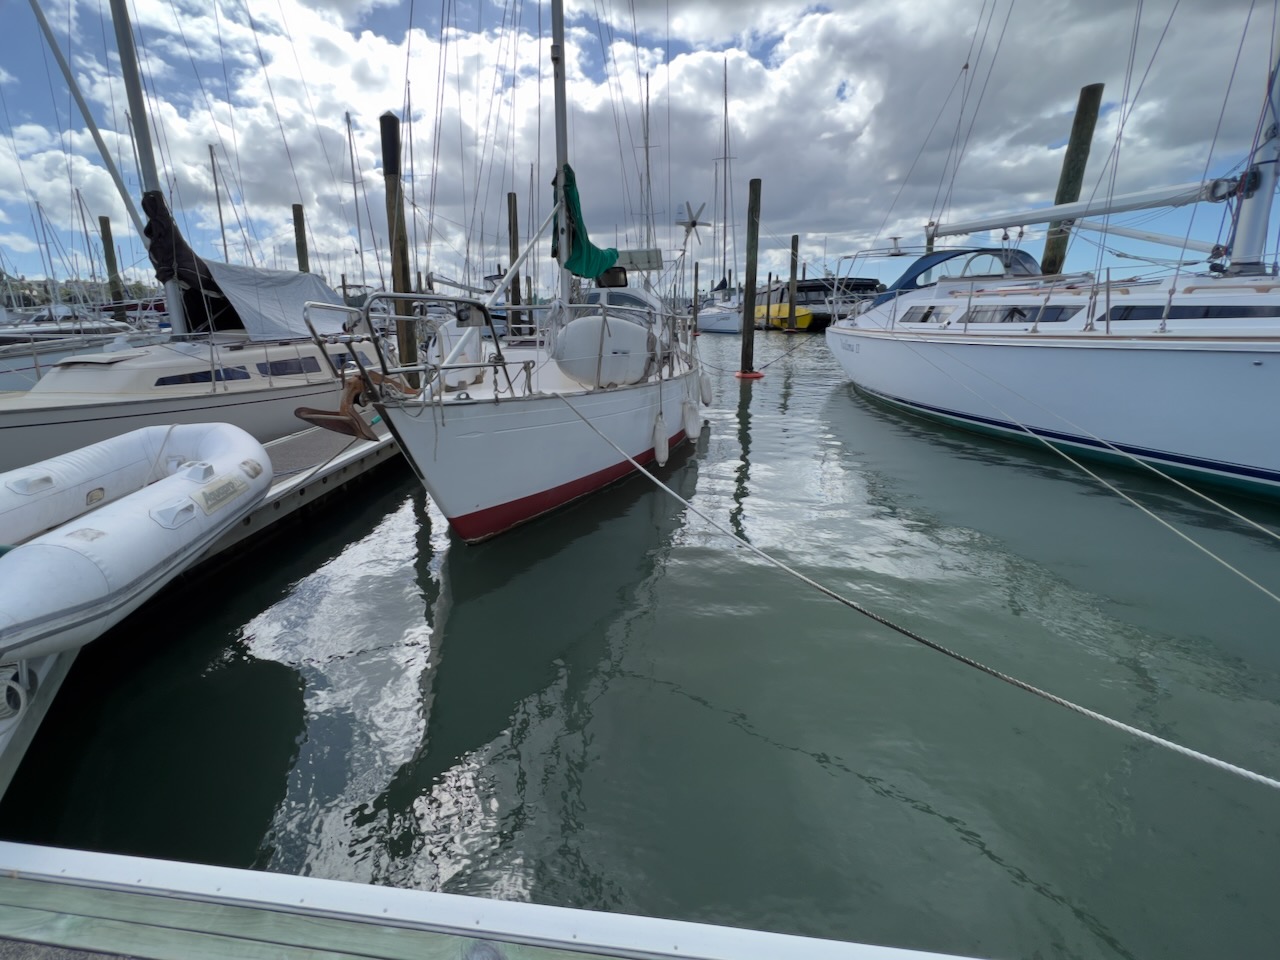
There was a challenge to find a rigger in the West Harbour. I booked a haulout and unstepping the mast on May 1st at Gulf Harbour Marina. Ironically, the storm was about to hit Auckland on the same day. So I decided to wait it over at Gulf Harbour Marina berth departing before the weekend. It is about 4-5 hours sailing/motoring from Hobsonville Marina.
I sold my berth to my liveaboard neighbour Glenn. I changed my job to part-time.
I plan to spend next month in a boat yard preparing Beruta for a long offshore voyage.
While still at Hobsonville Marina, I rewired the boat again, replacing all wires and putting three IP-67 standard (non-marine) electrical panels in strategic locations: 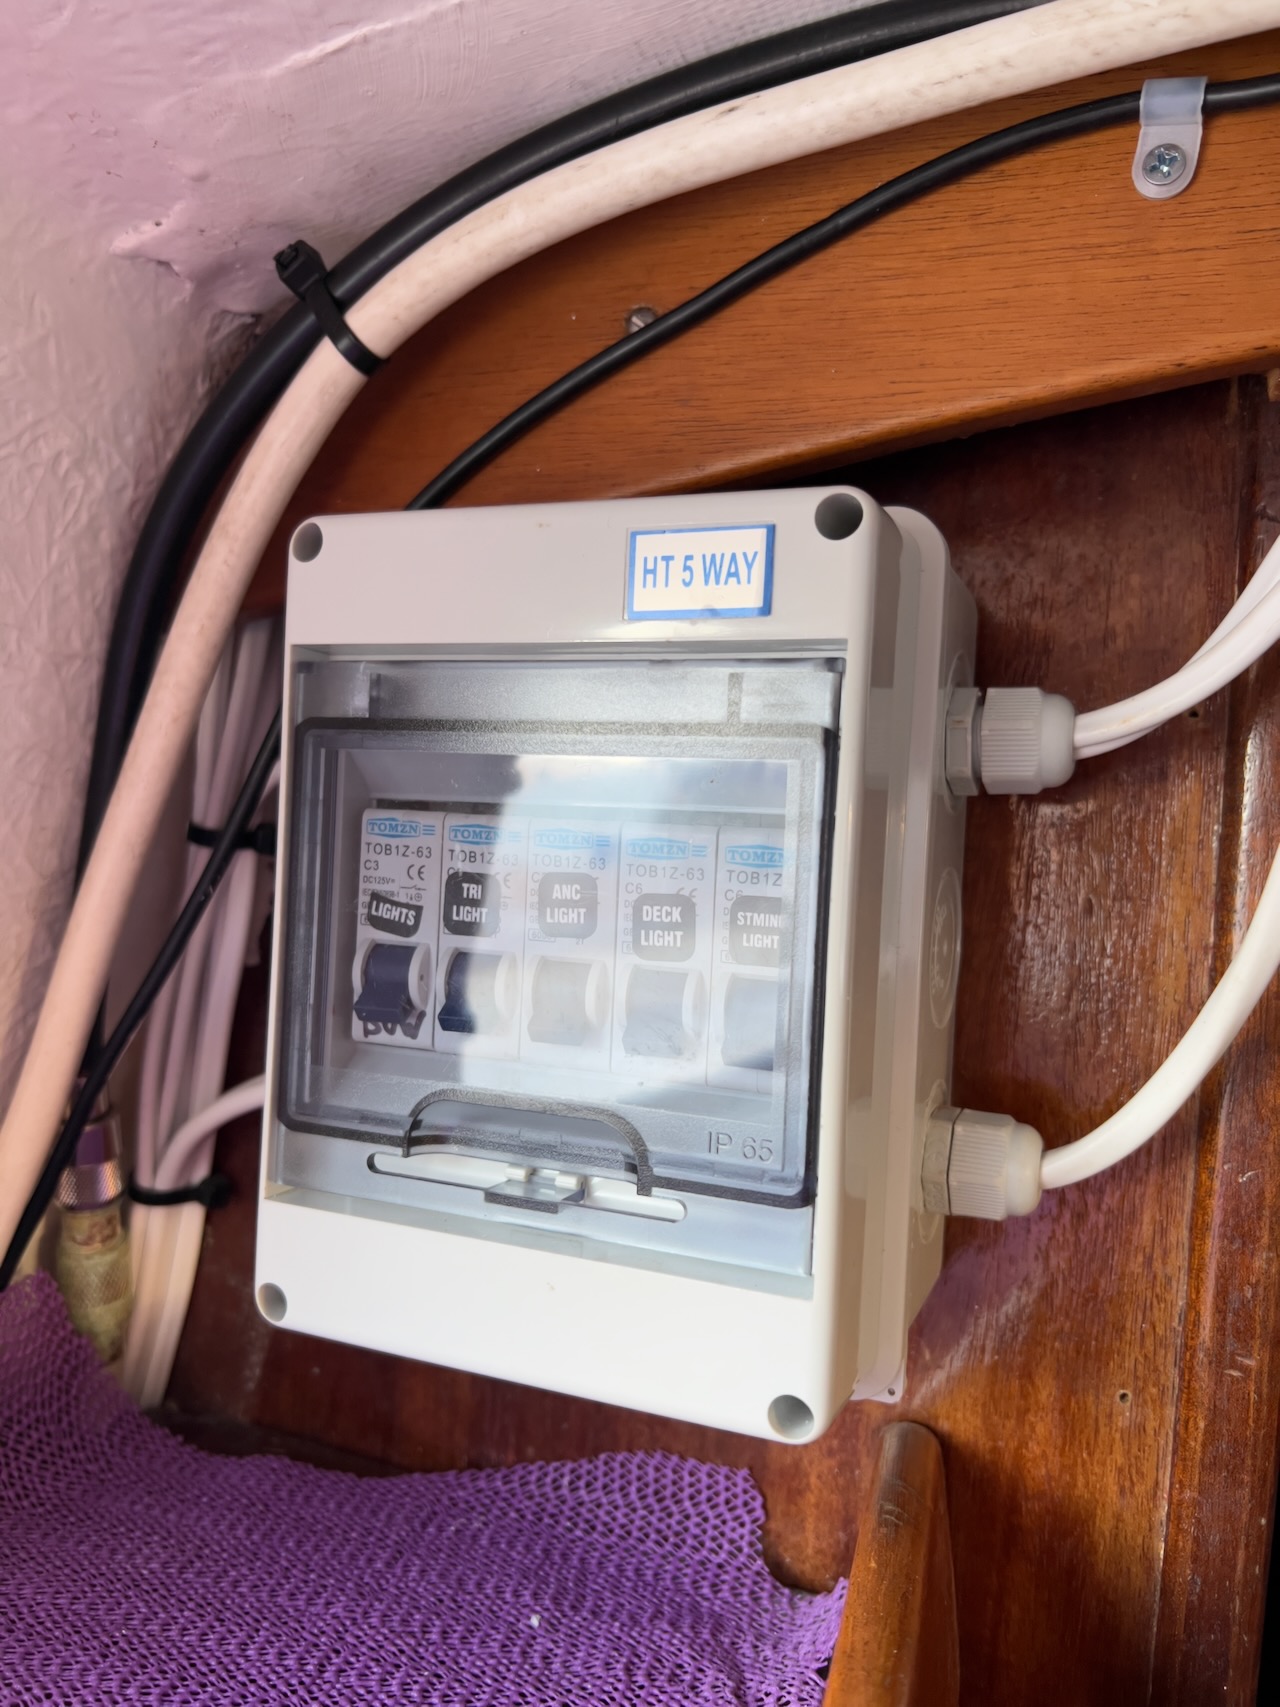 at the head,
 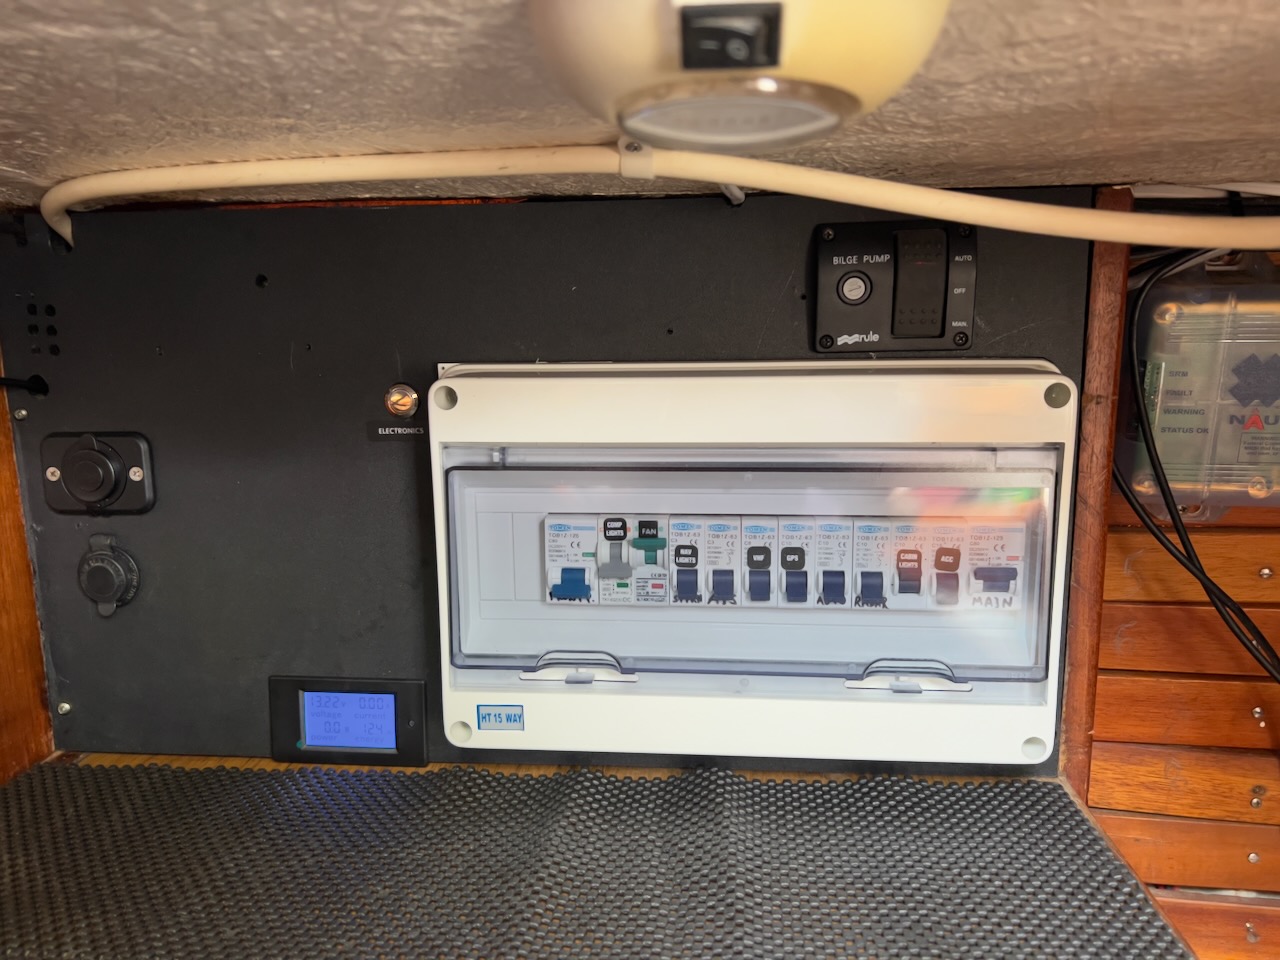 in the cabin and
 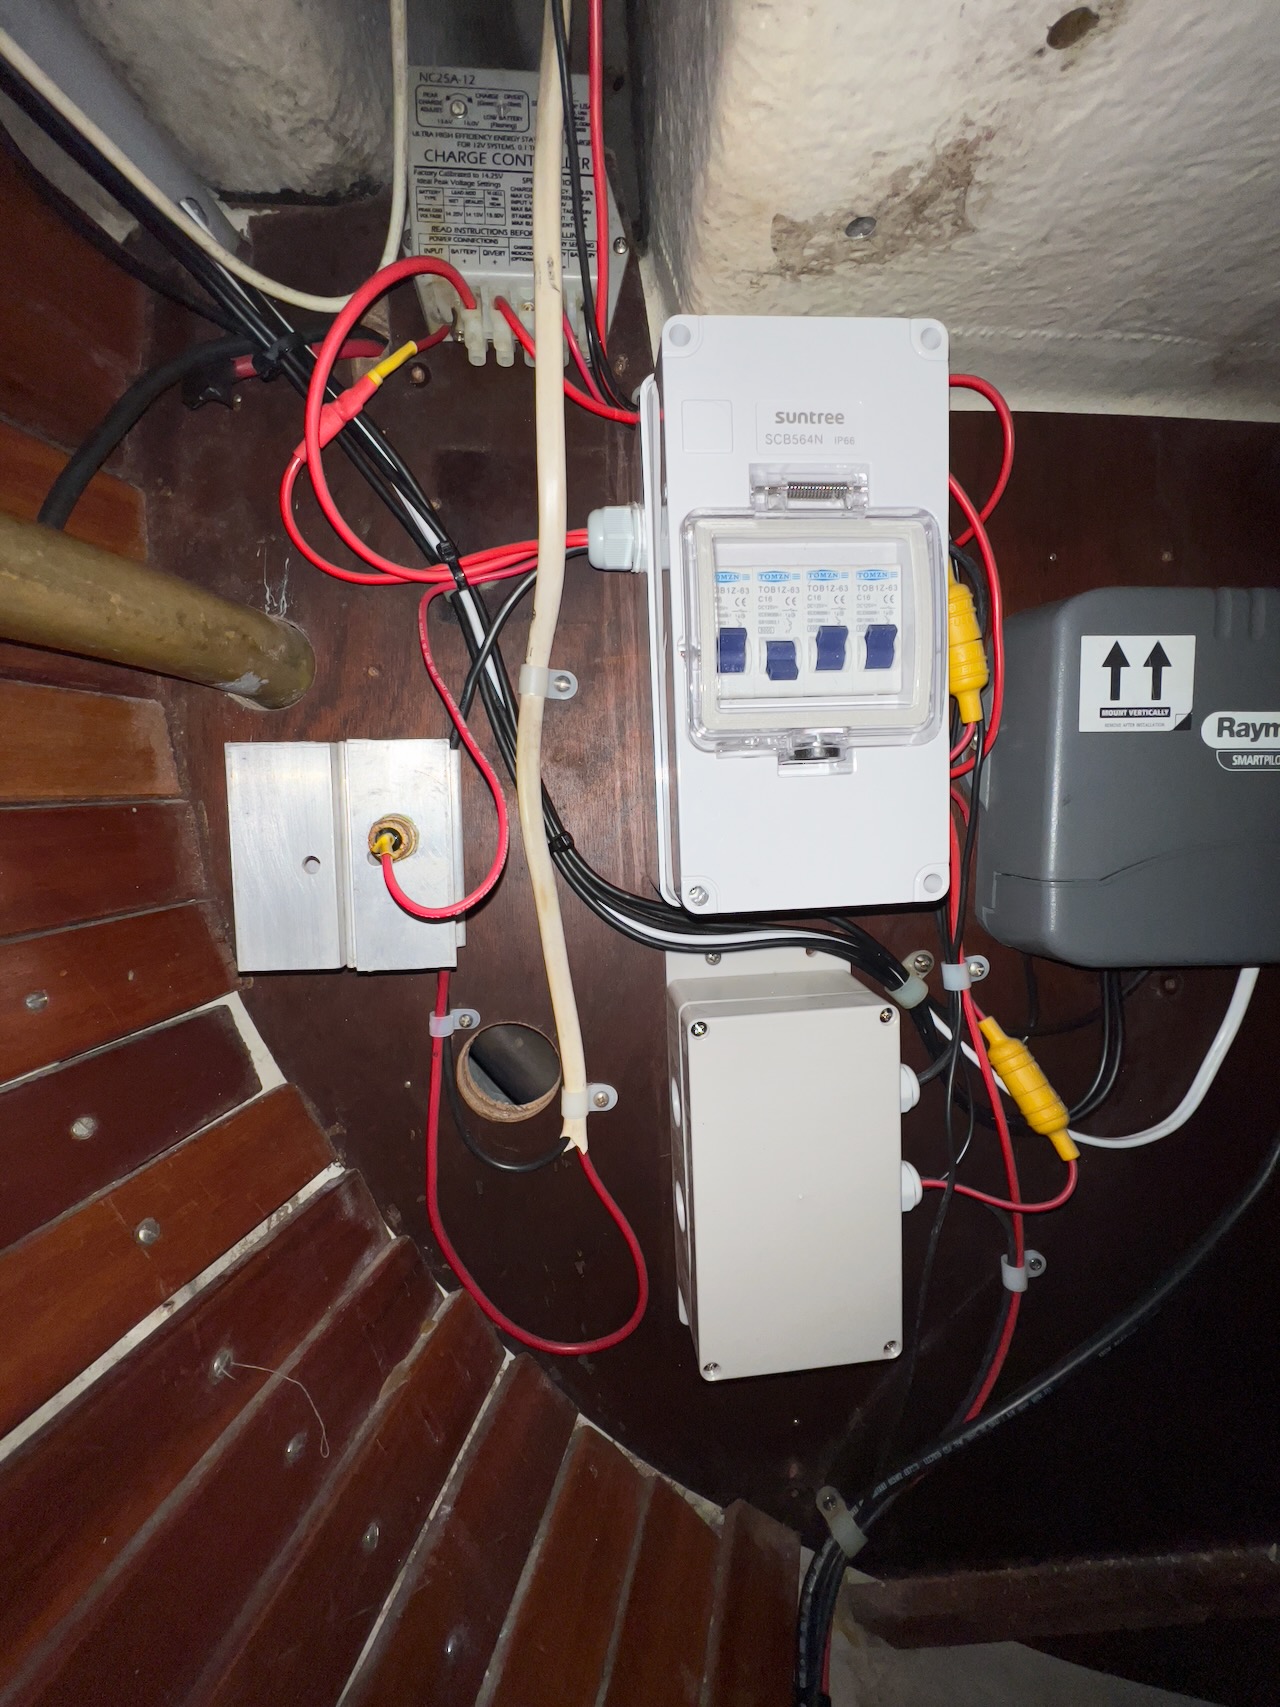 aft where wires from solar panels enter the hull. By the way, I added the second 200-watt solar panel and got rid of the broken wind generator. I was unable to find a suitable size one here in NZ. I also installed three waterproof junction boxes - now no more exposed terminals prone to corrosion left. I used standard (non-marine) DC breakers, which can be sourced in most amperages and much cheaper.
I replaced broken engine single lever shifter with 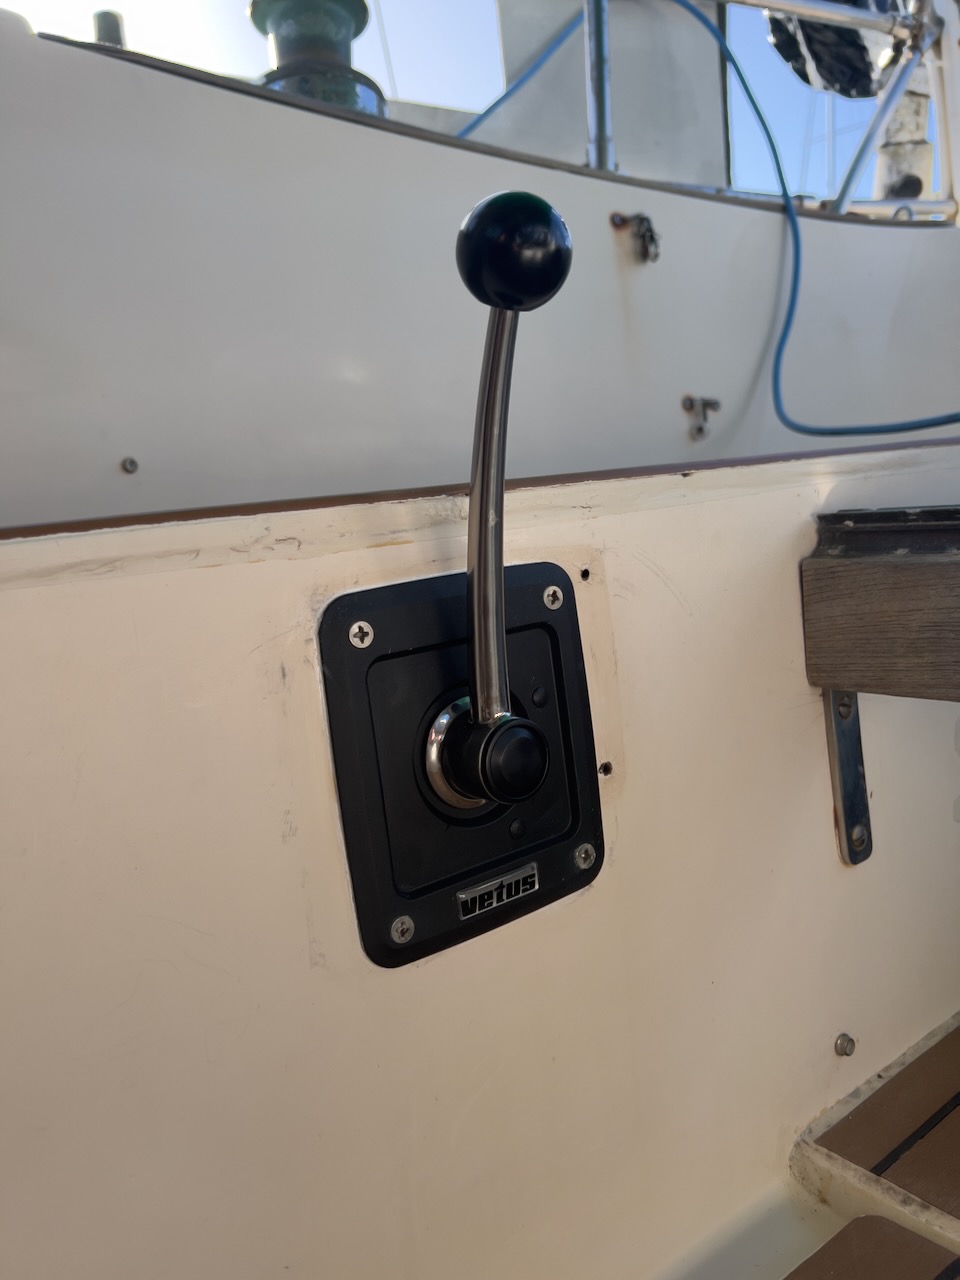 Vetus that comes with stainless steel handle. Unfortunately, the mechanism is made from the carbon steel.
Raymarine chartplotter showed condensed water between films. Initially, 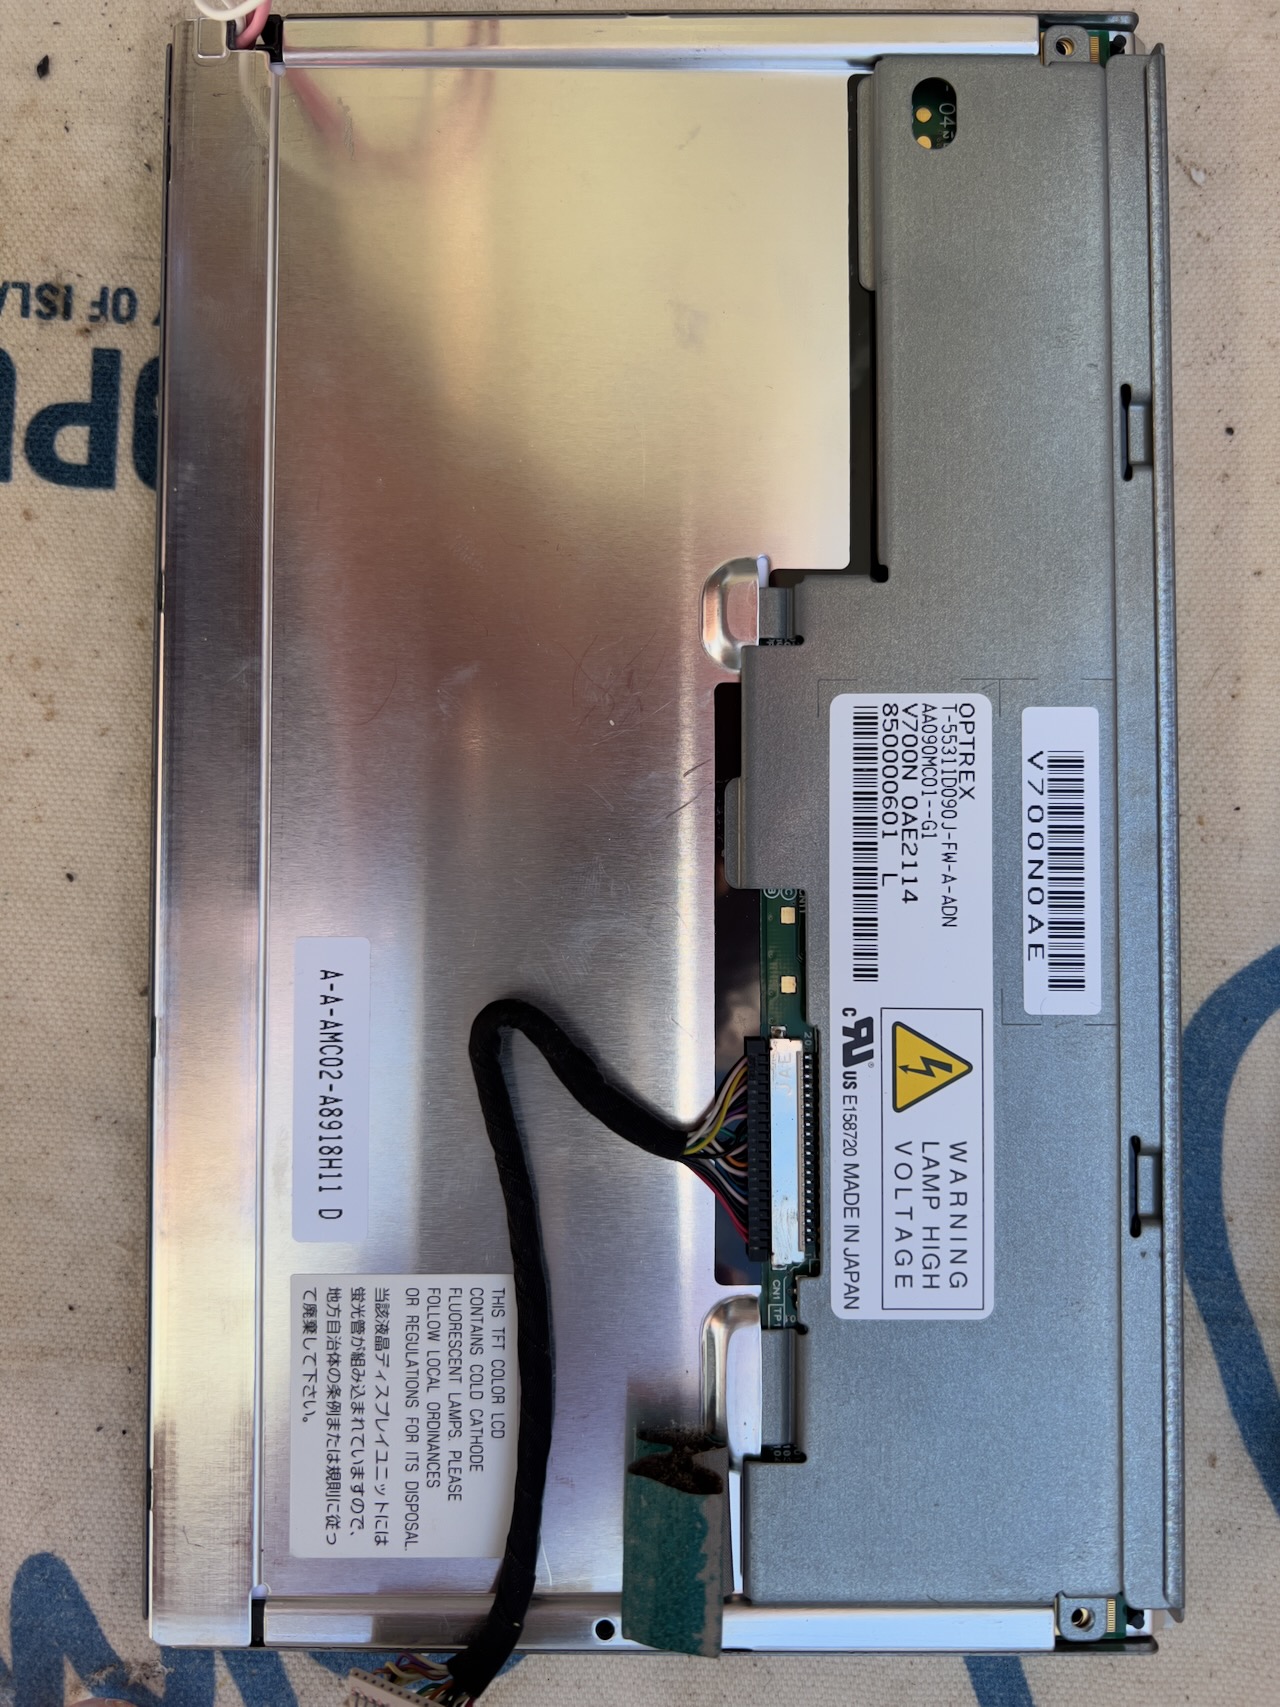 I took it apart hoping to dry the water out. After discussing the matter with my co-worker Paul, who knows a bit about LCDs, I decided to leave it alone as it seemed to have been impossible to fix in a non-factory environment.
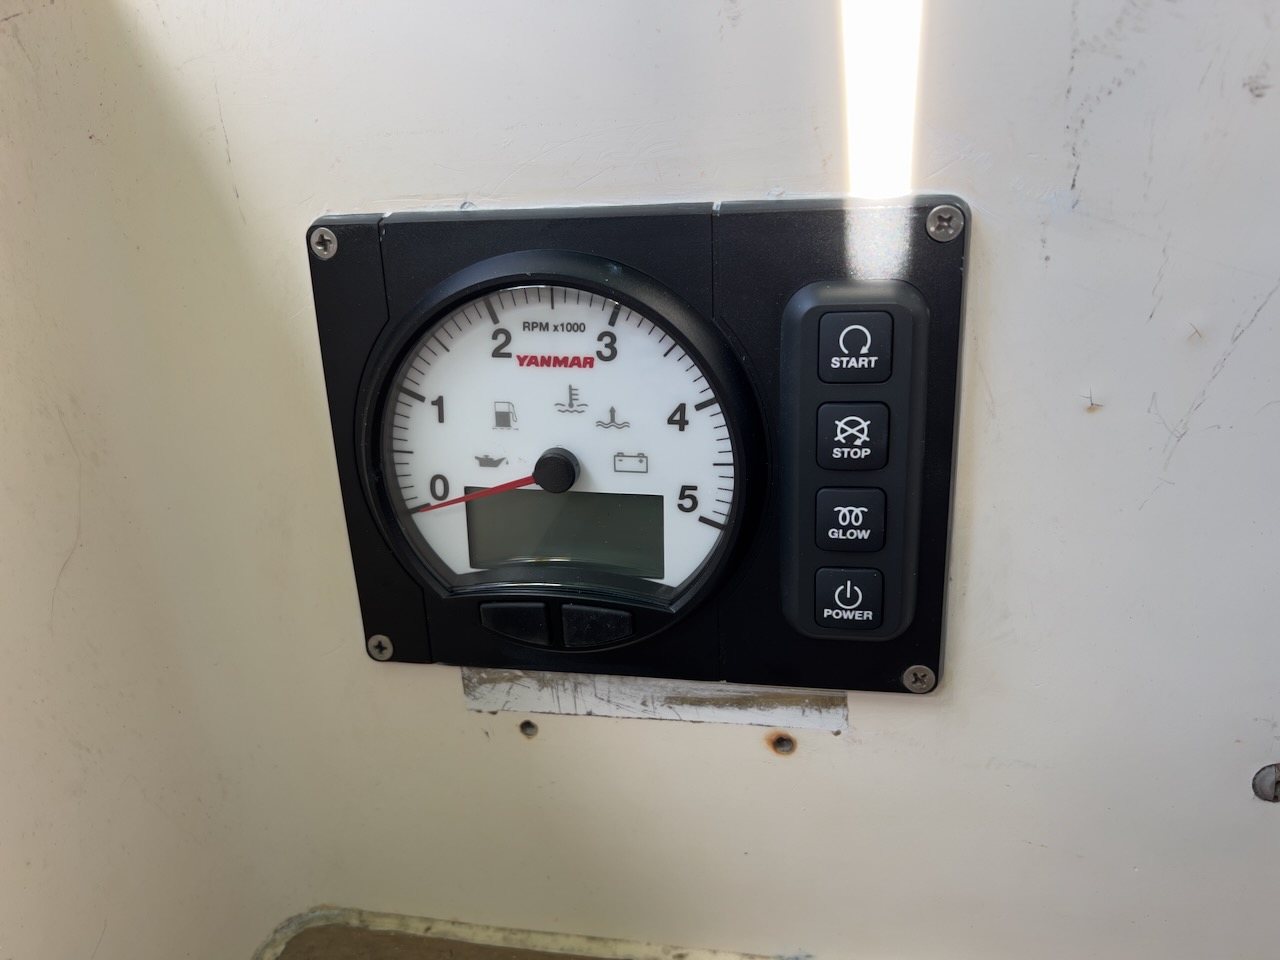
I did basic engine maintenance replacing all filters and fluids as well as replacing the old panel with a modern style new one. Finally, Yanmar got rid of an ignition key, which was prone to corrosion but forgot to provide a cover for the buttons! I haven't cleaned the OSS shaft seal, which scared me with a noticeable water spray on my way. Moreover, the bilge water pump failed to pump it out and I had to use a manual one a few times. The PSS shaft seal manual recommends replacement of the rubber bellow every 7 years. I tried to order the $100 maintenance kit from US but shipping was twice the kit price. Later, I ended up buying a new complete PSS seal locally.
Unstepping the mast just to un-entangle the line seems like a silly idea. So I even inquired about replacing the spars. Waiting time was at least 4 months and would cost about 30k. At least I was able to order a new Selden boom with an integrated slab reefing system and a rigid boomvang called a boomkicker from Selden. The mast would be repaired and I would finally install conduits for the wires and stop them banging the mast in a swell.
Monday 1 May 2023
I spent the entire weekend cleaning the deck, cockpit and top sides. That was indeed a silly idea before entering the boat yard! I changed the afternoon haulout to the next morning as it was still quite windy and rainy but the storm was moving away.
2 - 26 May 2023
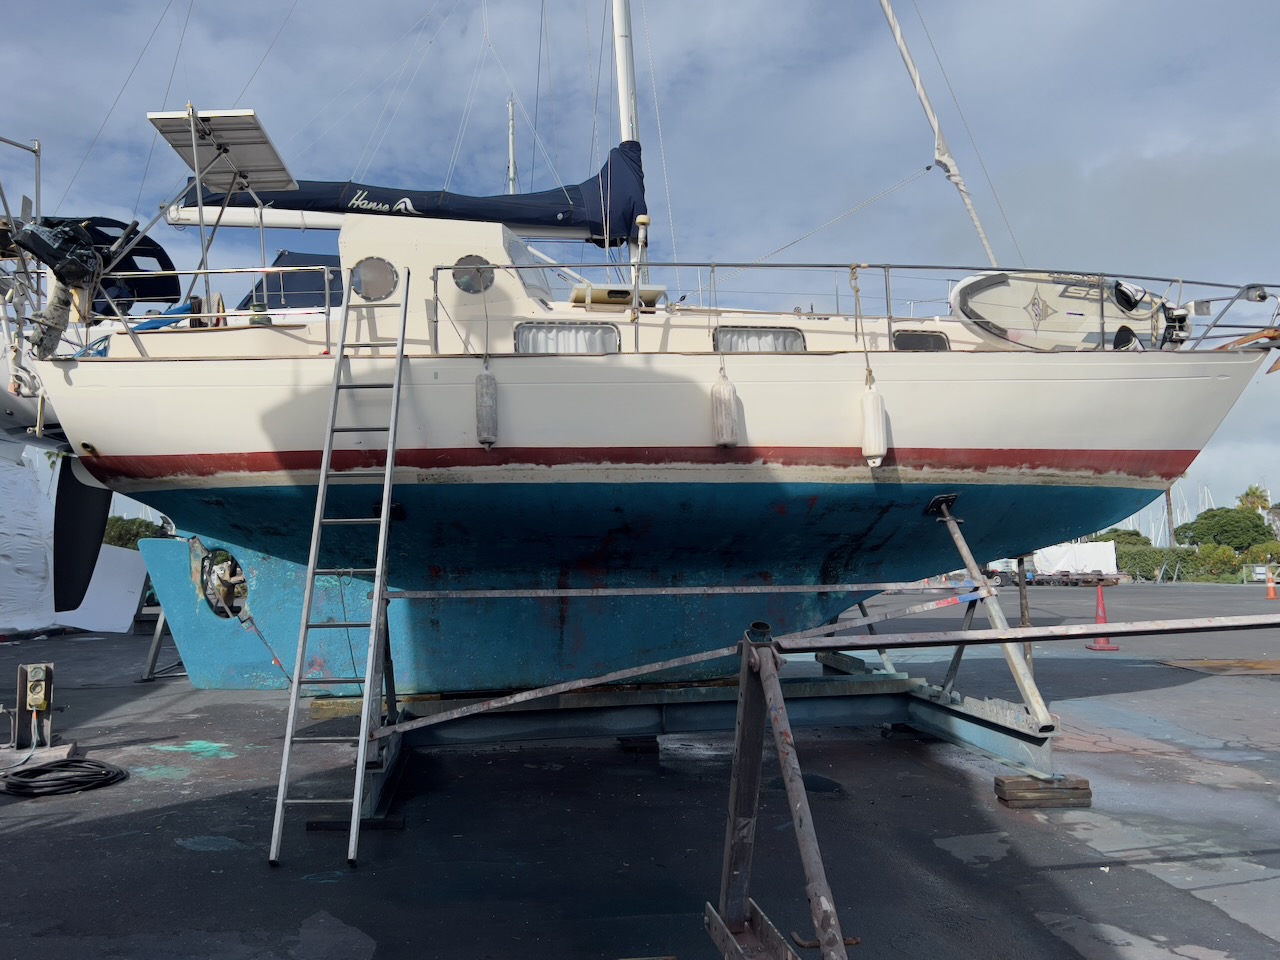
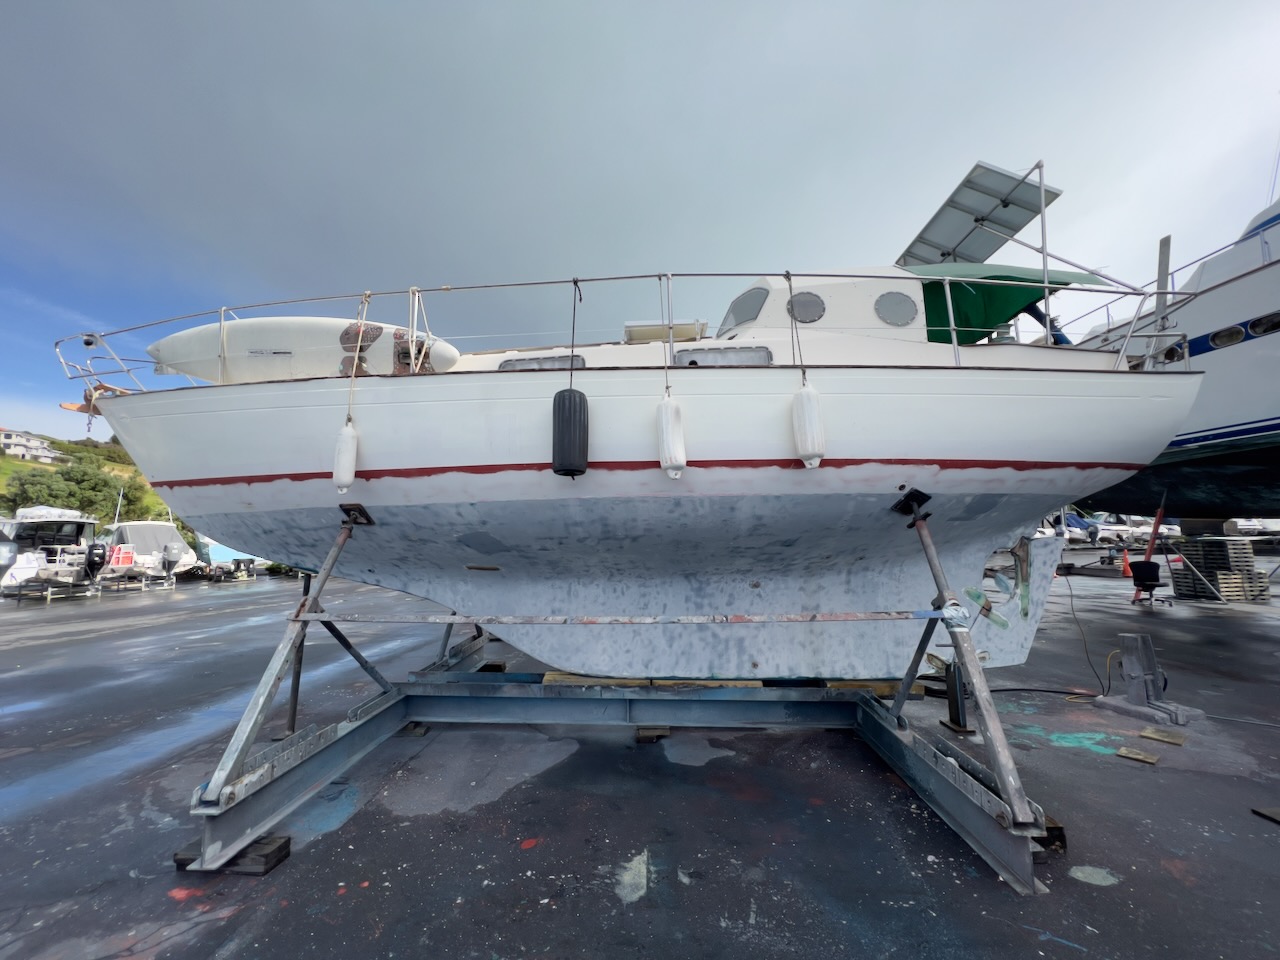
Beruta was lifted promptly at 8am and water blasted.
A quote from the painting company was over 7k, so I only ordered "soda" blasting to remove the old antifouling. It would be done next week. Then I'd do the rest.
First thing first - the engine. I didn't like 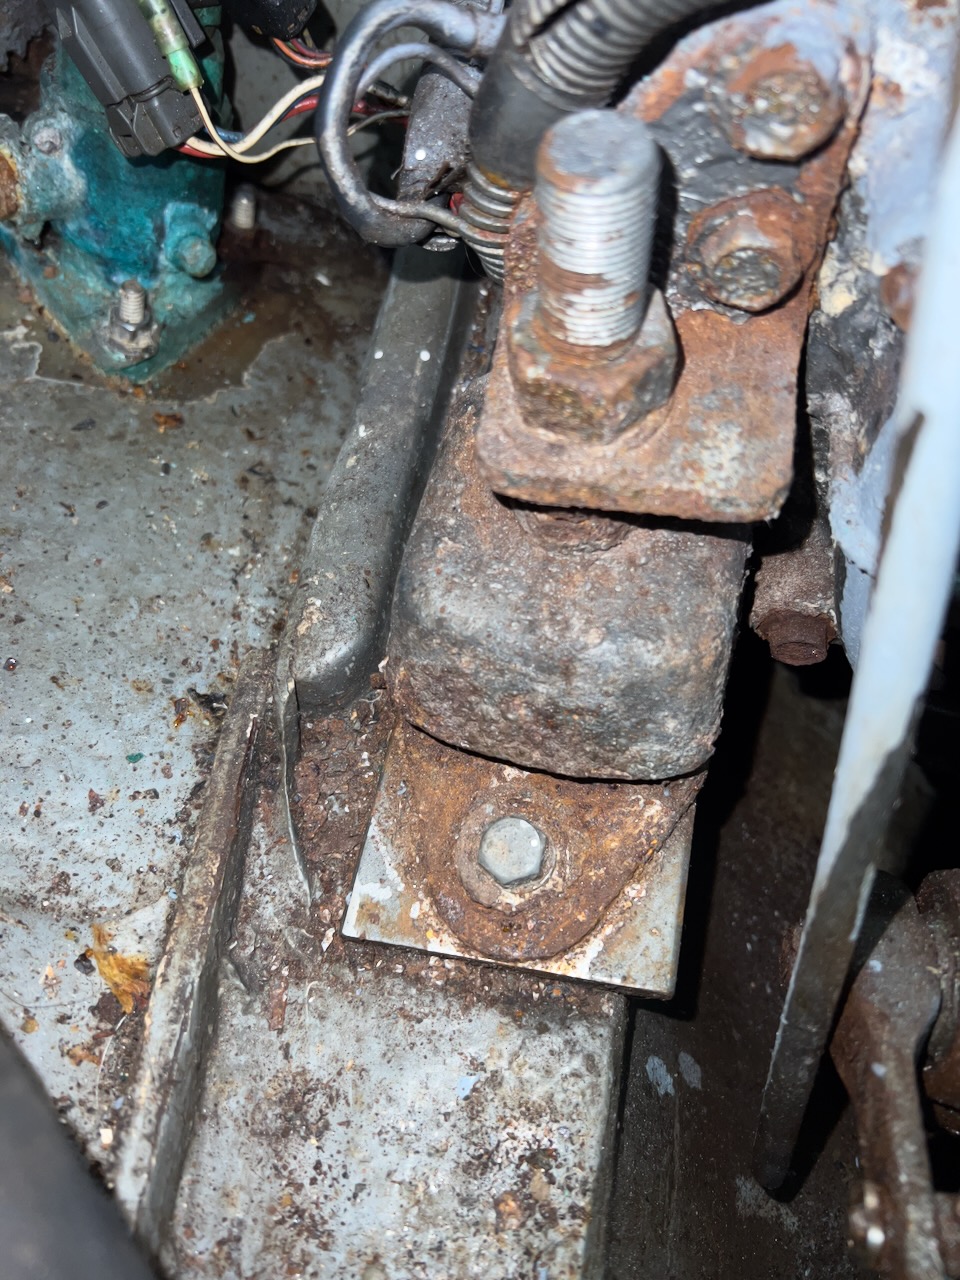 its rusty mounts. My friend and co-worker Anton who wanted to sail with me to Fiji, offered an assistance in preparation for the grand voyage. So I was able to find the same mounts locally in Auckland. They come without studs. I wanted to use stainless studs but all stud kits are carbon. I even ordered them and then even exchanged for another one. The problem was that original studs were stepped from 18 to 20. Unfortunately, this step was not available locally. So I ended with straight 18 mm stainless studs, nuts and washers. They will be slightly loose in engine brackets but hopefully won't move when tightened.
We used two pulleys, actually those from boomvangs to lift one end of the engine, then the other.
A separate issue was removing the shaft coupler. I spent the entire day pulling it out. When I removed the PSS shaft seal, I found 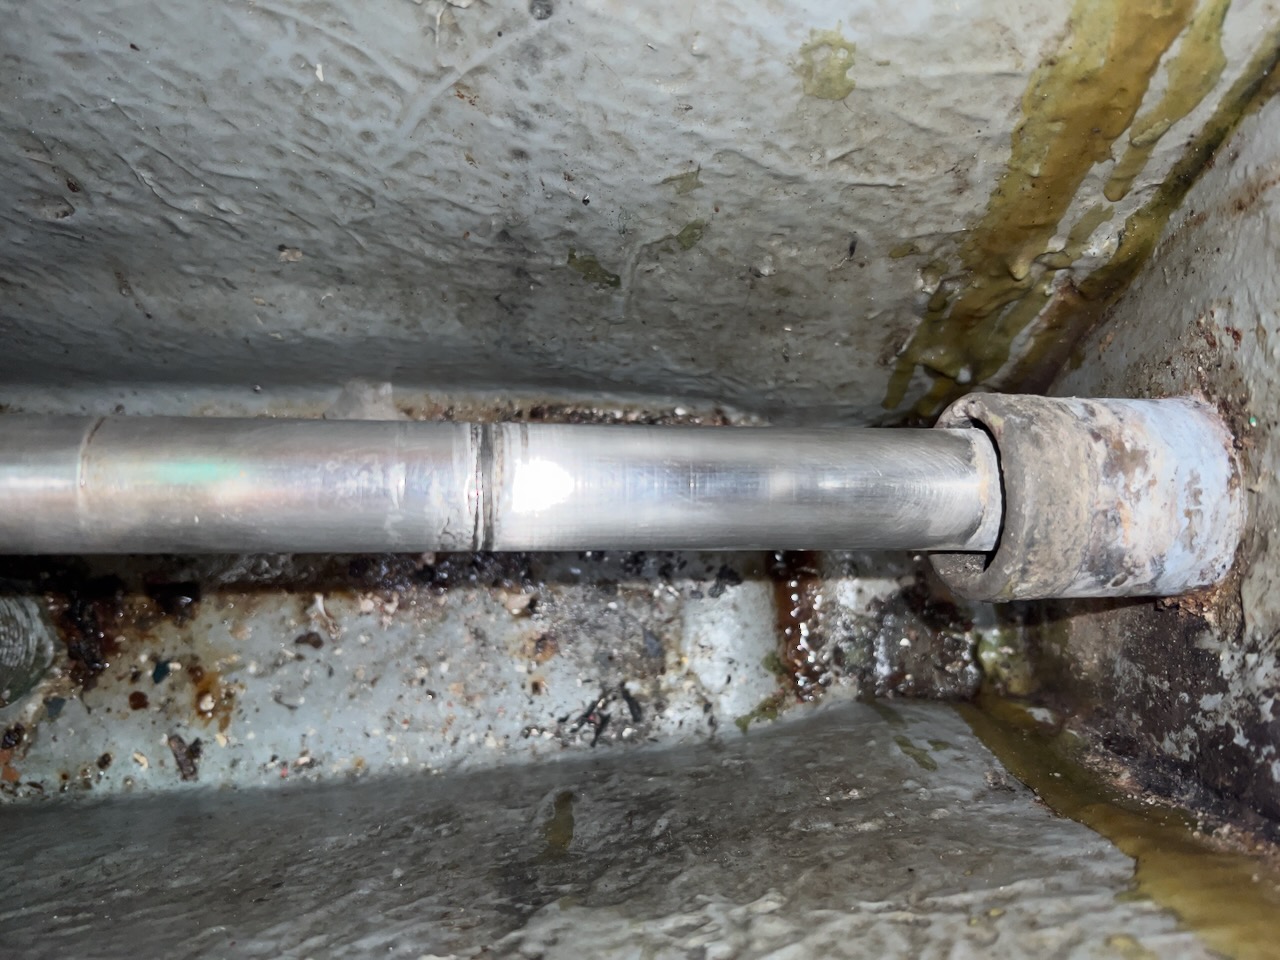 a deep grove around the shaft, right where shaft touches sea water behind the seal. I attributed it to stray corrosion. Even though my shaft had no zinc anodes, well, not counting one that Americans installed inside the engine room to hold the seal, they'd be useless in this case. The fundamental problem is a single wire electrical system of an engine. Both ground and neutral are the same - the engine body, which is grounded via the shaft! Any unaccounted current such as from a faulty wind generator or a poorly designed Chinese soldering iron, would go through the shaft to the water and eat the metal. Zinc anodes could only help in a case of a galvanic interaction where different metals are in contact with each other and salt water.
Anyway, I decided to replace the shaft. The less busy and more affordable shop was in Whangarei. They quickly made the shaft but ignored the important detail about lengthening it from the end, not in the middle! I wanted to install the zinc anode behind the prop. My old shaft had no room for it. Although there was a way to replace the nut with a special type that accepts the anode. The shaft cannot be lengthened in the middle because the prop would interfere with the rudder. They didn't want to re-do the taper end of the shaft and cut it from the coupler end. And they welded half inch rod to the taper end for the anode. Not ideal but working solution, which only cost me half an hour waiting time.
Once the shaft was in place, I realized that it was loose in the cutlass bearing. Perhaps, it was time to replace it as well. Why not? Bronze bearings were not available. I was able to order a fibreglass one: 1 x 1.5 x 4 inch. I would need to cut it as Americans cut my shaft tube because they had made a mistake measuring the length of the shaft. This was not the main issue though.
I spent almost a day trying to remove the old bronze bearing. Anton had borrowed me a cordless jigsaw but the battery did not last long. So I had to use mine but it had a shorter blade, which did not reach the end of the bearing. Next day Anton brought a new long blade and a spare battery and he was able to finally cut it. Reportedly, removing a fibreglass one would be an easier job next time.
Another epic story was about a Silverdale machine shop that attempted to fix my rudder bottom misaligned hinge and also make a riser exhaust pipe. I brought them all the pieces: the exhaust coupler, the short riser pipe, which I wanted to be 15 cm longer and which had left and right threads on its ends and the exhaust elbow. They said they only needed the pipe. Of course, they threaded it with the same thread on both ends!
The bracket was done properly with a high density insert instead of a bronze or stainless one, which was supposed easy to be replaced in a future if needed. But they called me the next day, when we already installed the bracket and epoxied it and said that they used 304 stainless steel for the pin instead of 316. They asked me to bring the bracket back to replace the pin. I almost started to cut the epoxy out again when they called me the second time and said that the pin was actually from the proper 316 steel. I felt like I was back in Dominican Republic.
"Soda" blasting made a countless number of pinholes in a gel coat and an epoxy paint, so I spent couple of days trying to fare them with an epoxy putty.
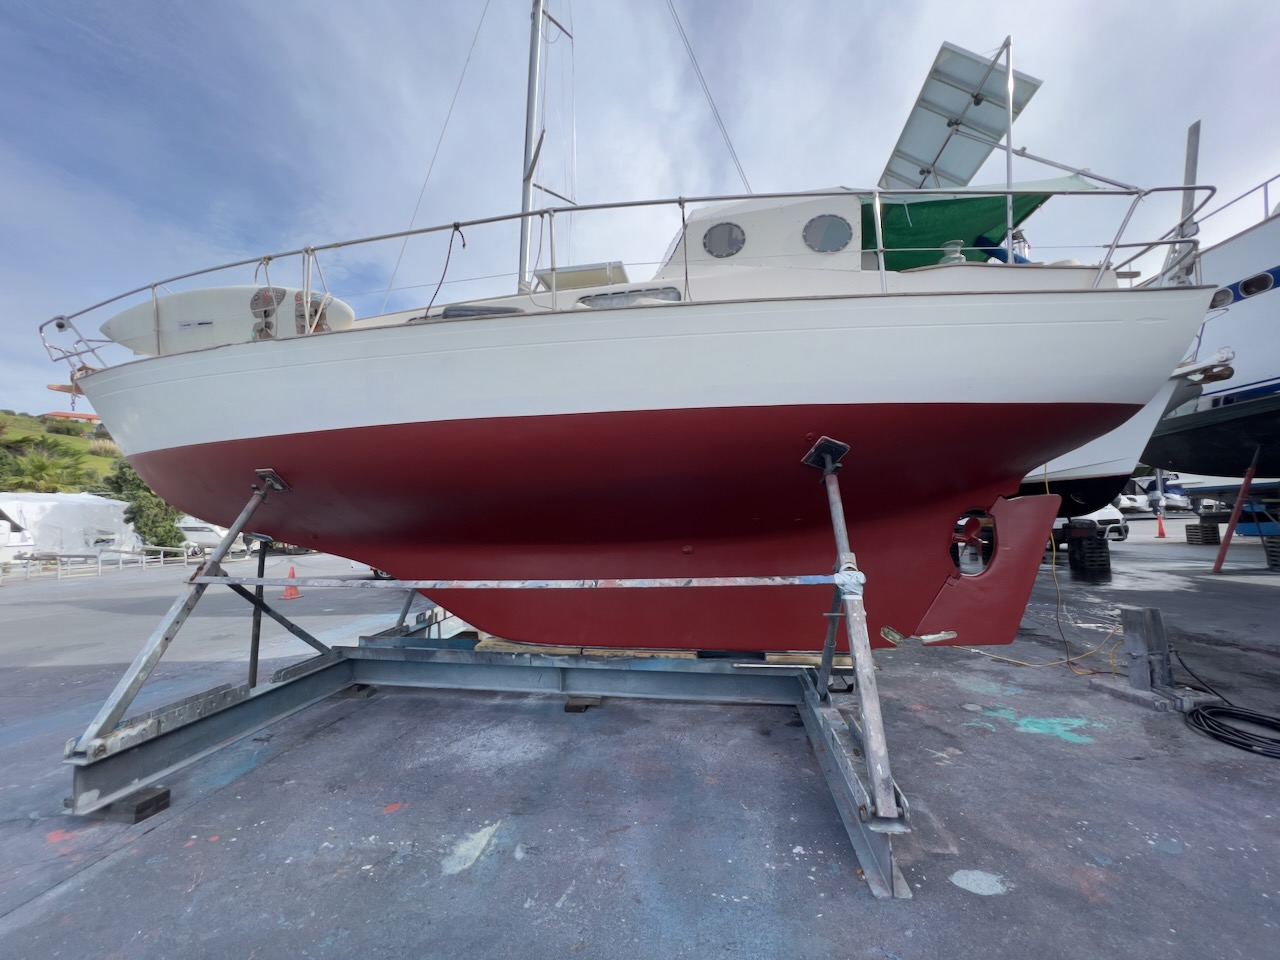
Then Anton helped me with sanding the hull. Sanding seemed to have opened the pinholes again. Oh, well. Let them be. I used copper rich Altex number 5 antifouling paint, which I put 4 coats on top of 3 coats of an epoxy primer. Now Beruta is all smooth again like 14 years ago!
Some other work that I did include replacing a cord in a rudder stuffing box, removing the head sink and a foot pump and re-using a sink's seacock for the bilge one. It happened to break in a closed state as designed but for the bilge pump it didn't work well. I made a storage compartment where the sink was using the door from the fore cabin. In Hobsonville Marina I also painted the ceiling, some compartments and storage lockers and re-varnished the planks around portholes which hold the curtains.
I had to sell on Trademe most of my camping gear, a bike, a Yamaha digital portable grad piano, a Klos carbon-fibre traveller guitar, wind surfing kit, kitchen appliances such a breadmaker , a dehumidifier, a heater, etc to make room for the voyage. It is amazing how much stuff one accumulates living in a marina for almost 7 years. Many items simply went to a garbage bin.
To minimize a bill from the rigging shop, Rob, the owner, encouraged me to do most of the job myself often giving good instructions and valuable advices. For example, I learned that to install a conduit, I needed to drill two holes and use a wire hook to hold the PVC conduit when riveting it to the mast through the first hole.
As well as I learned to use heat when removing corroded screws and even the foot of the mast that I was not able to take out when I bought the boat. We used two torches to rapidly heat the mast on both sides and hammered it out. I also used a torch when pulling out the prop.
The mast foot cracked in a couple of places after hammering it, so I had to bring it to the welder for repairs.
When inspecting mast chainlplates, unpleasant signs of corrosion were revealed. The rigging shop made new chainplates from a slightly thicker SS bar and replaced some through bolts as well. Some improvements were also done to 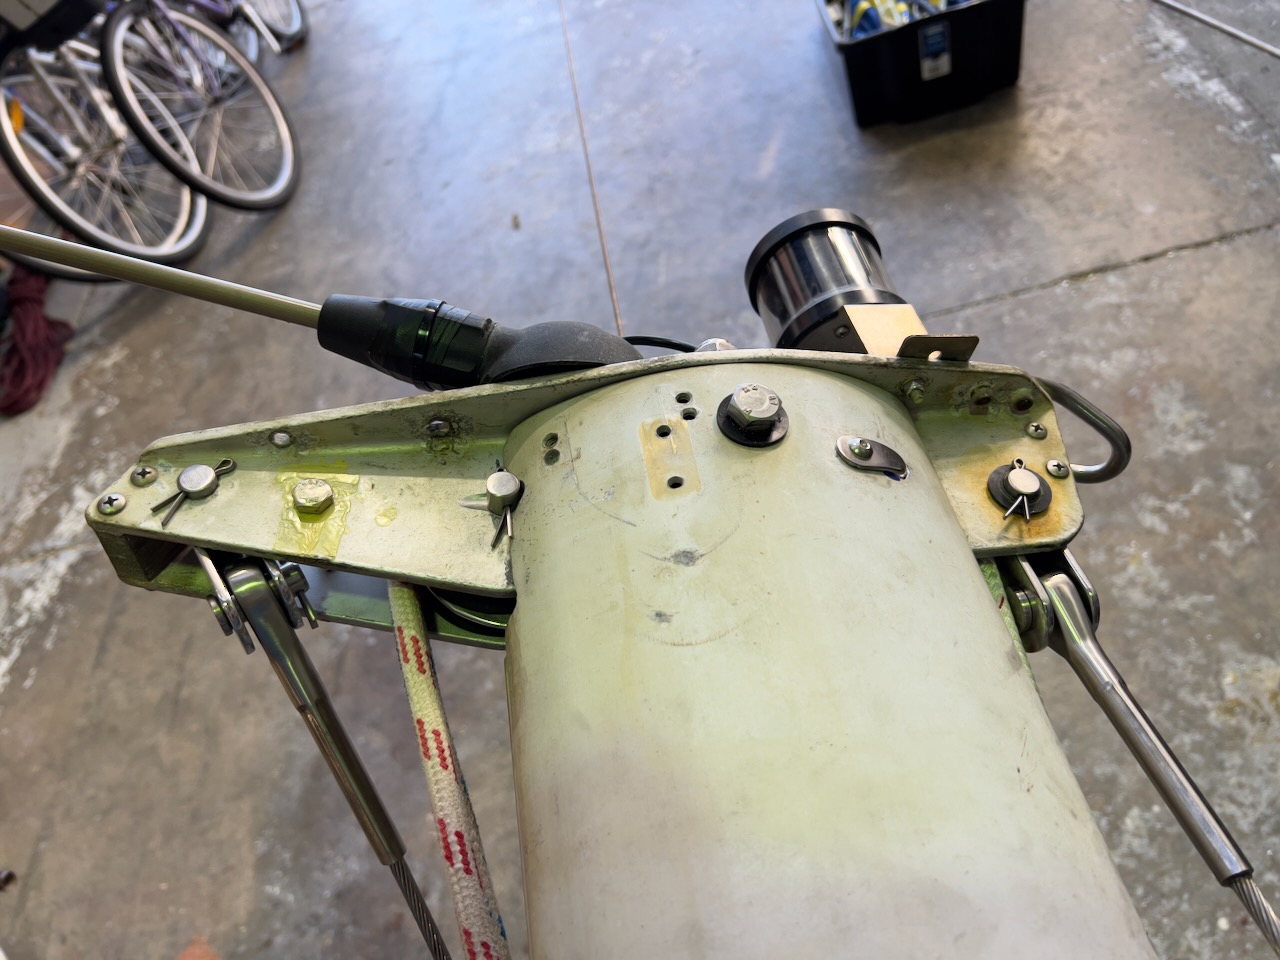 the mast head, so that now I should be able to replace the sheaves without unstepping the mast. I also asked Rob to screw
 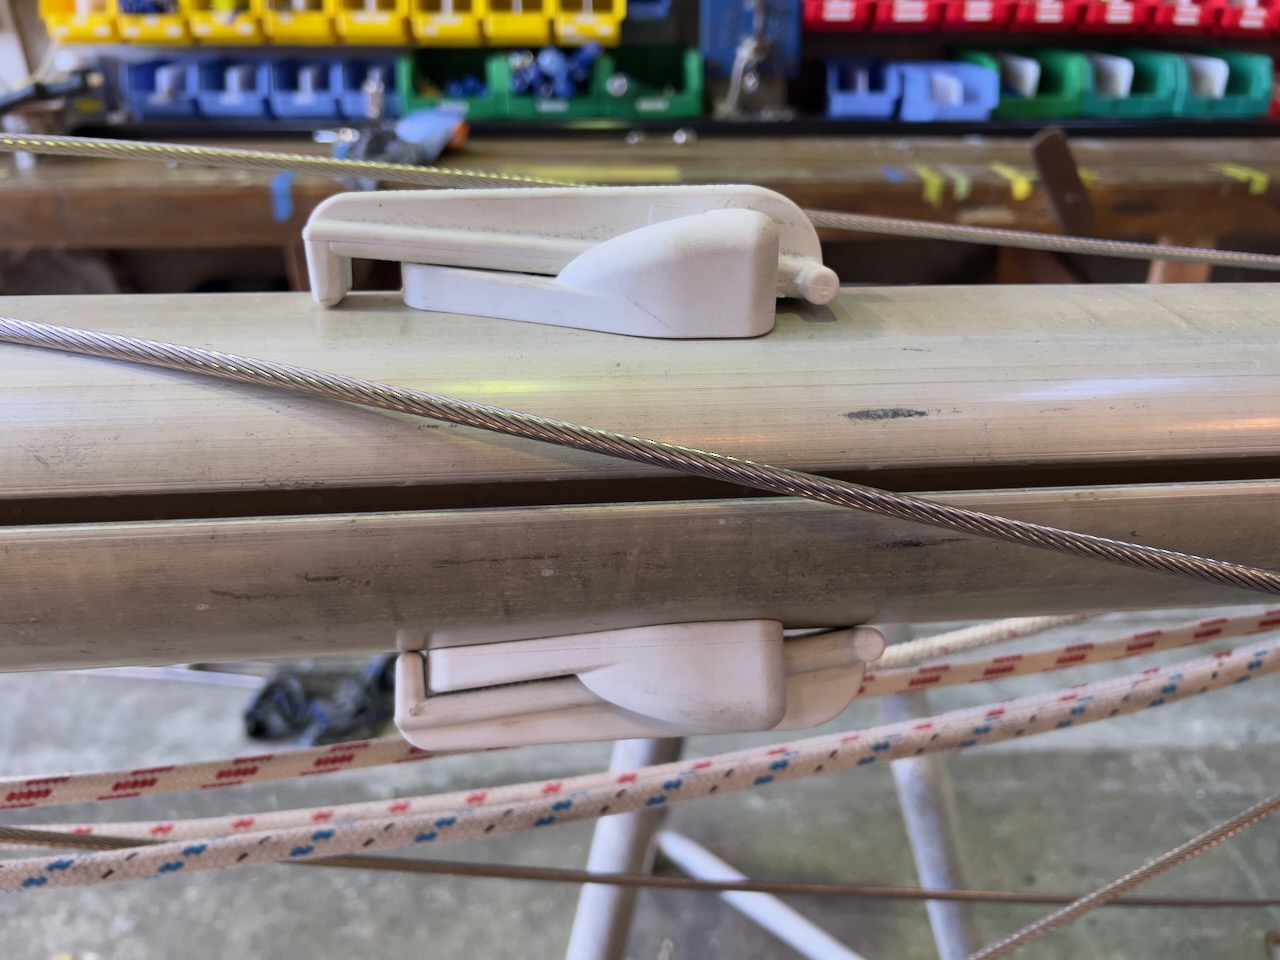 two mast steps approximately 1.2 m from the top to make working on the masthead easier.
Rigging shop 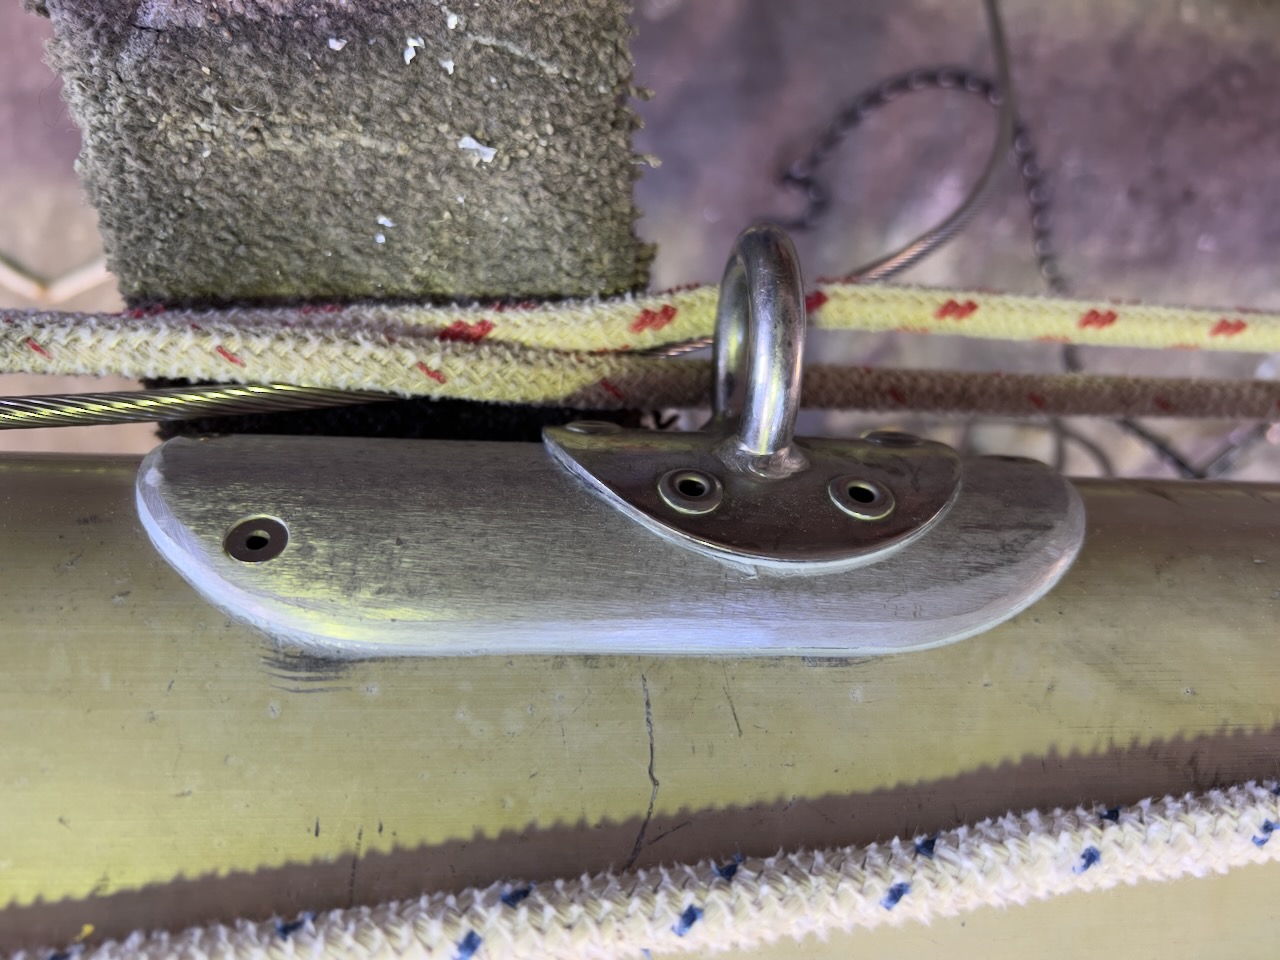 patched a place for the spinnaker boom attachment with a cut profile from a larger mast. It was
 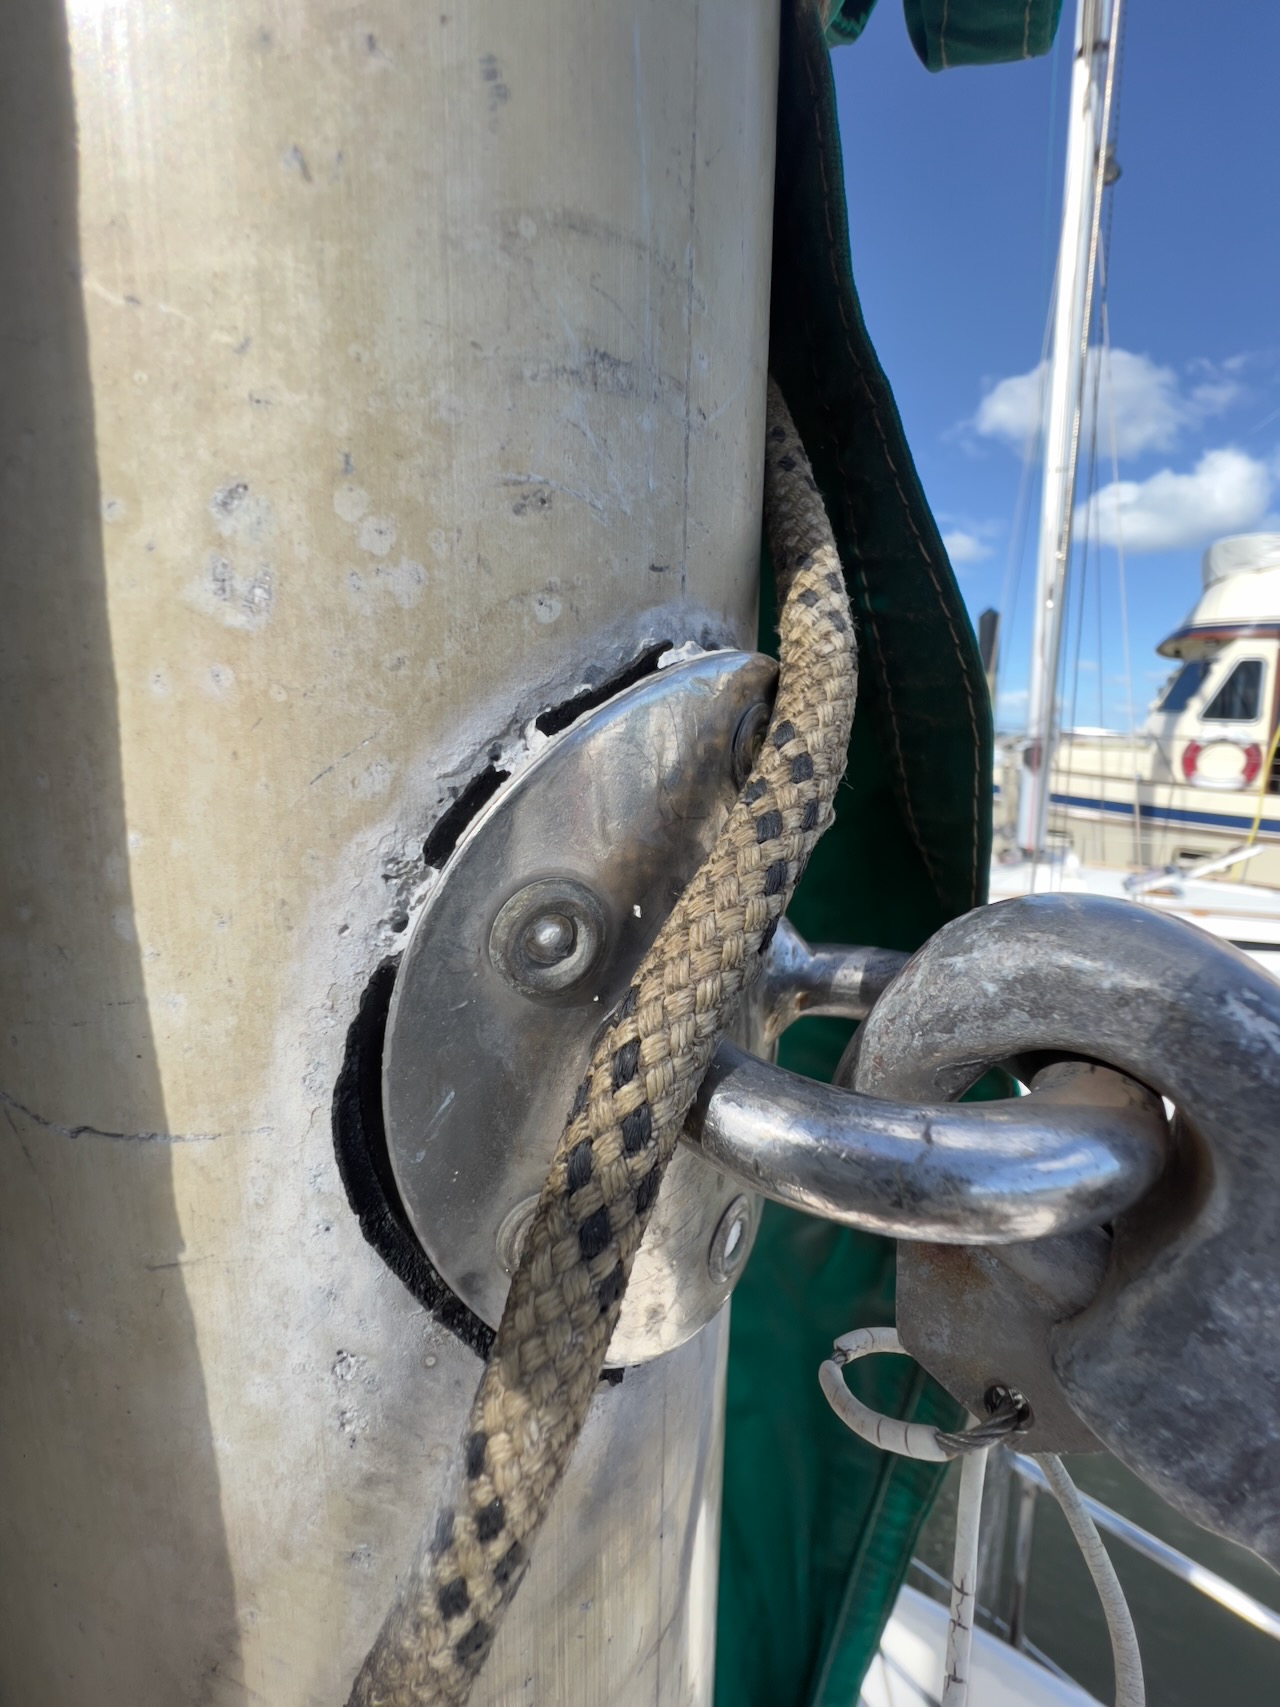 badly corroded.
A standing rigging was replaced with 6mm wire. I had to order 12 HI-MOD swag-less fitting cones for it as the original cones were imperial sizes and felt lose on the metric wire. It took over a week to deliver from the US. The total rigging bill was over six grand but still cheaper than buying a new mast.
badly corroded.
A standing rigging was replaced with 6mm wire. I had to order 12 HI-MOD swag-less fitting cones for it as the original cones were imperial sizes and felt lose on the metric wire. It took over a week to deliver from the US. The total rigging bill was over six grand but still cheaper than buying a new mast.
My old Yamaha dinghy that I bought second hand when I arrived to Opua simply disintegrated. Same thing happened to the outboard - it corroded everywhere. I had to buy a new dinghy and a motor. There are not many choices in NZ. I ended up with Chinese brand Maxxon 2.4 m double fibreglass rigid rib hull with an intention to tow it behind. This was the heaviest among other types and that was the goal to avoid it capsizing in a bad weather. As for the outboard, there was a deal on 3 hp 2-stroke Yamaha brand.
I had planned a month for the maintenance but thought that I would have finished it in a couple of weeks. There were quite a few unexpected repairs. Almost like the first time when I purchased the boat. These are the consequences of living in a marina for so many years without actual sailing.
Besides the boat yard work, I still worked evenings remotely for the same company that I worked in NZ since my arrival. What a loyalty!
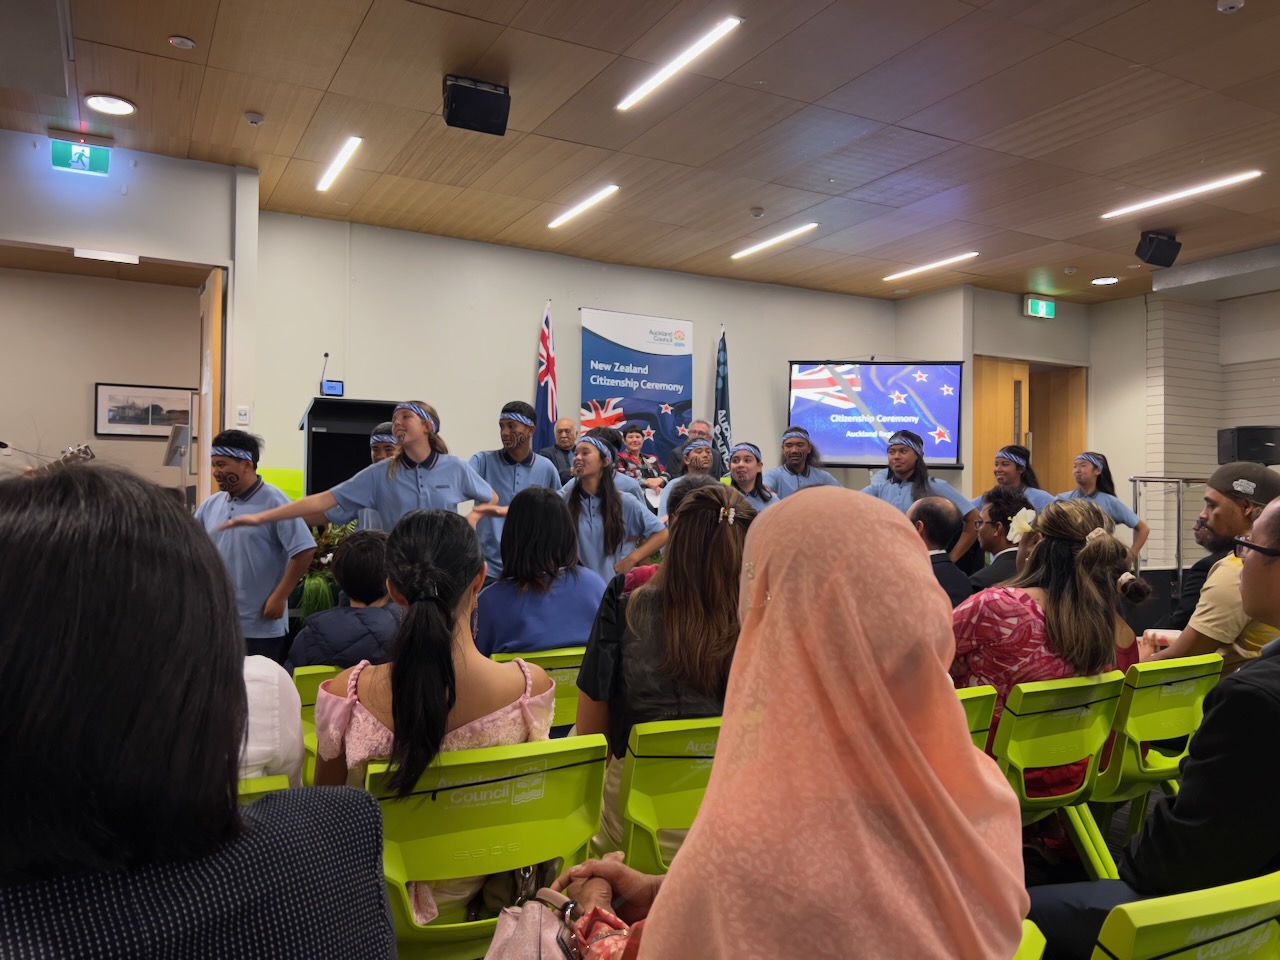
And besides this, there were not less important events like attending the NZ citizenship ceremony and applying for NZ passport afterwards.
The NZ Post refused to leave my new passport at the reception of the marina office and I had hard time chasing it via numerous post offices and spending hours on a phone waiting for an answer. Finally, I collected it a day before the departure. The NZ Post is not something New Zealanders should be proud about. It took them a year to deliver a Christmas present to my daughter in Dominican Republic!
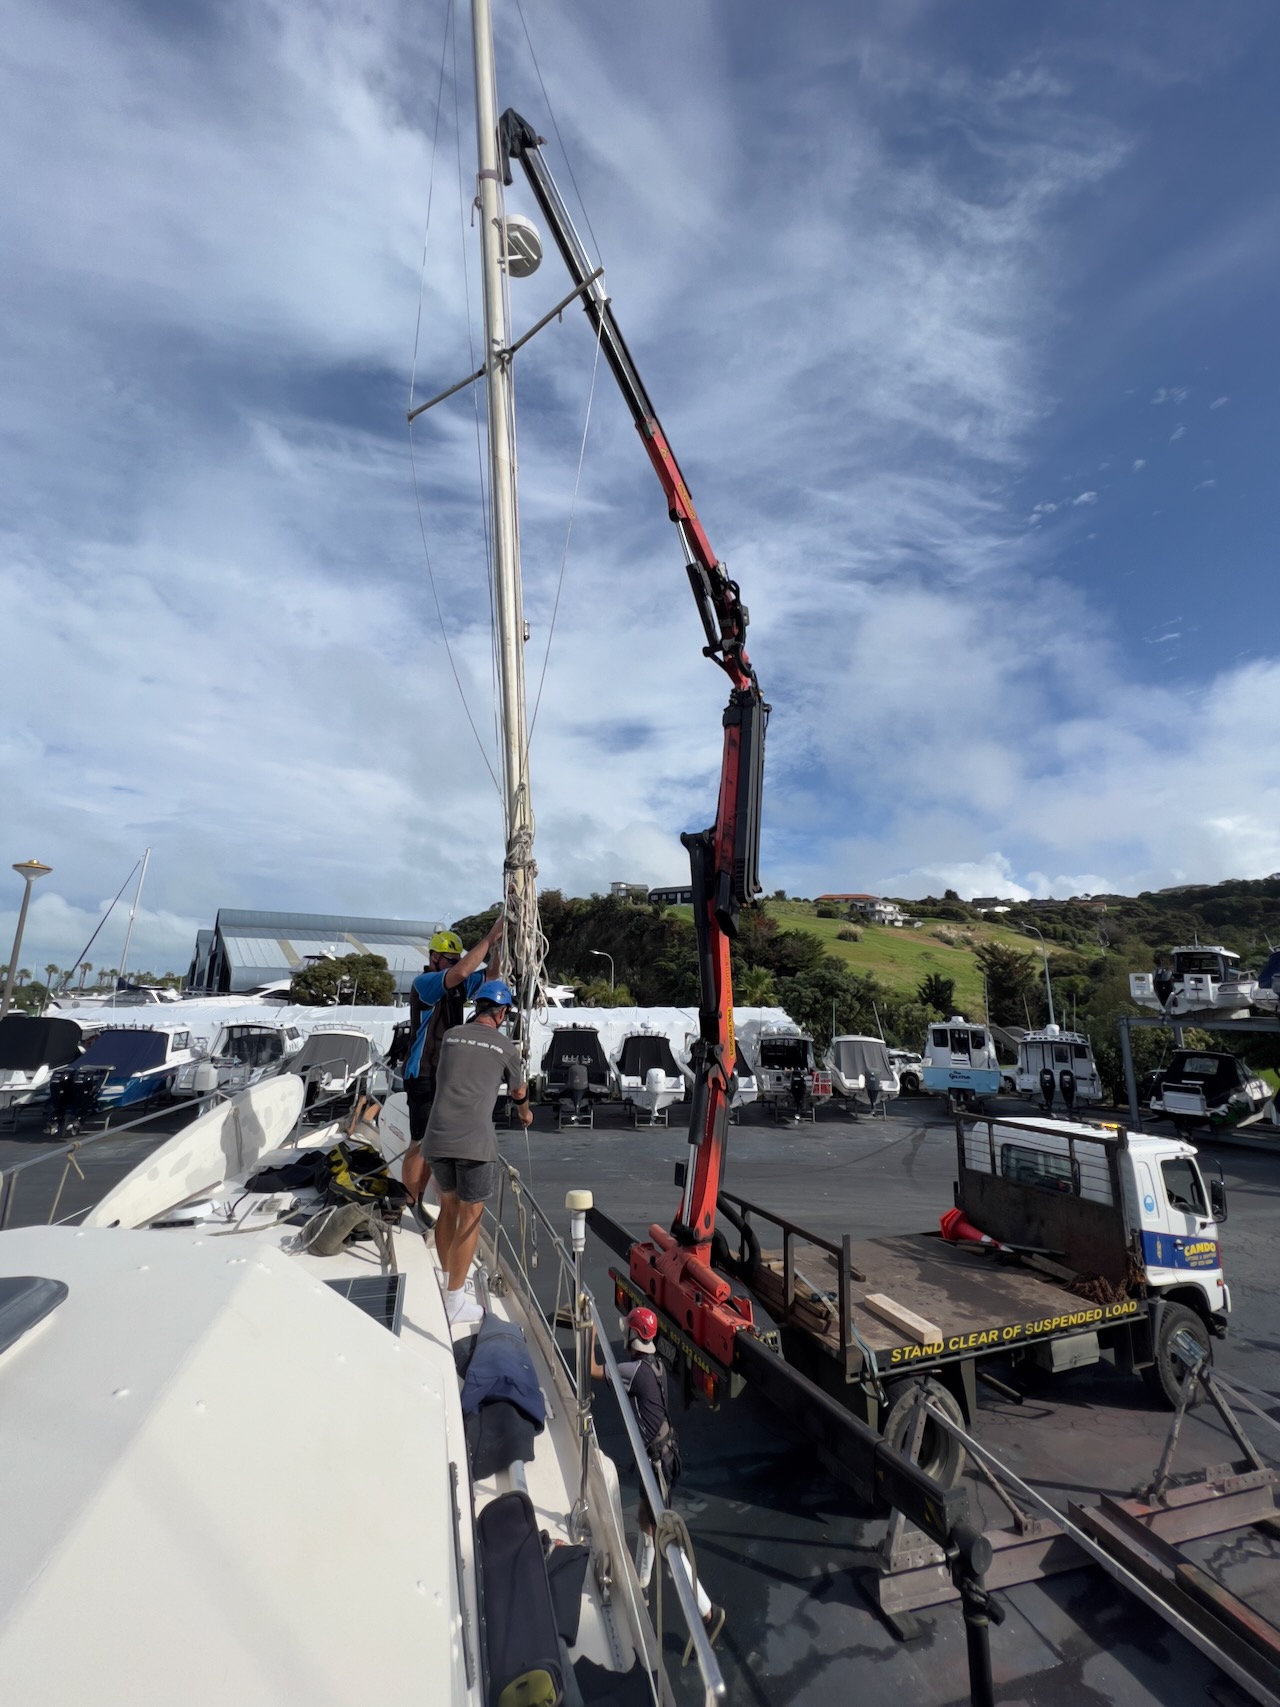
All was finished at the last moment. The mast was stepped the day before the launch. Beruta was lifted overnight on a travel lift, so we could paint under the keel and supports. The dinghy was delivered a day before, just a day after the Yamaha outboard. I painted its bottom with an epoxy primer and the same antifouling paint. Anton helped with the second coat.
All pictures from Gulf Harbour are on Google Photos.