


Cockpit
Here it is:
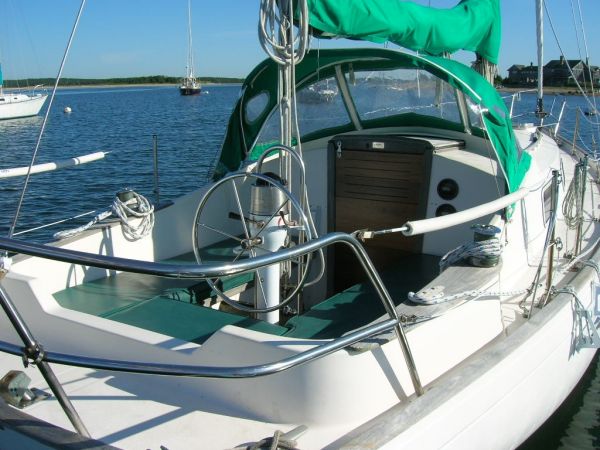
I have already removed the steering pedestal because it had taken too much space in the cockpit. Back to the tiller steering!
The first weekend in March (2009) was warm and I successfully repaired the hole made for the pedestal in the cockpit floor. This was my first fiberglass repair work since I was a teenager. It went ok. There is nothing special about it. I attached a piece of plywood underneath to support the fiberglass sandwich, then put one layer of fiberglass mat, another layer of cloth wetted in West System epoxy until the hole was filled to the top. Next day I ground the excess of it and fared some voids and minor holes with epoxy and thickening additives. Then sanded and painted with one part polyurethane Interlux enamel.
Summer 2015. Curacao
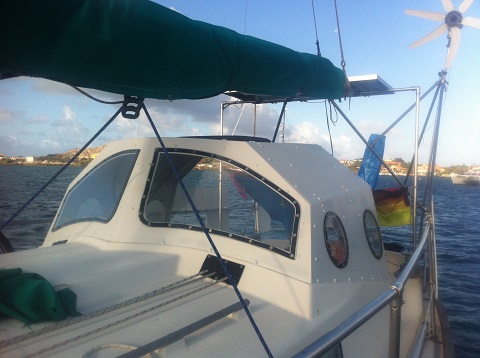
New pilothouse
Old dodger has been repaired many times because the fabric does not hold well in tropics.
Finally, I finished the project that I was dreaming about for a long time - I made a pilothouse! I chose 10mm marine plywood for the sides and 8mm - for the roof. It just happened that Island Water World had only two sheets of 10mm and one sheet of 8mm, that's why.
I decided not to cover it with fiberglass because it would look ugly. Instead I just painted it with 4-5 coats of epoxy paint outside and 2-3 coats inside. The windows were made from 5mm Plexiglass, the thickest
that I could get on Curacao. I kept 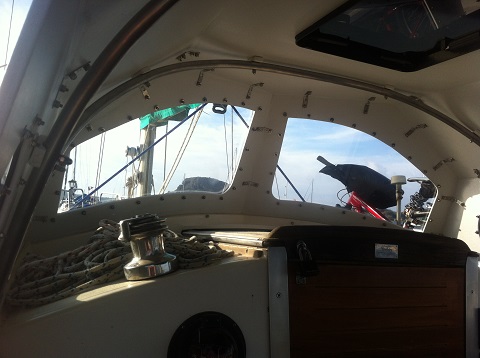 the tubing that was used for the dodger and bolted the
sheets to it. I also used SS brackets to connect the sheets. All seems were epoxied.
the tubing that was used for the dodger and bolted the
sheets to it. I also used SS brackets to connect the sheets. All seems were epoxied.
On the roof I installed new square hatch to create some ventilation in the cockpit.
On the top of the edge of pilothouse I crewed 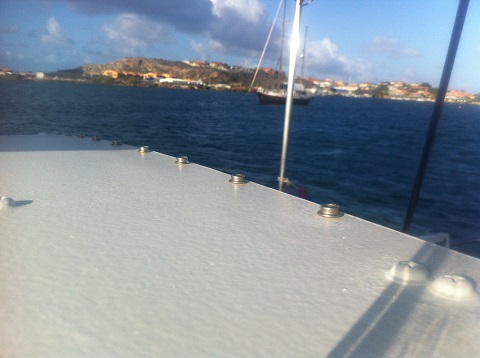 some buttons for
  the new shadow tent and also
for the rain cover to protect the cabin and electronics from water when sailing downwind.
I installed new
the new shadow tent and also
for the rain cover to protect the cabin and electronics from water when sailing downwind.
I installed new 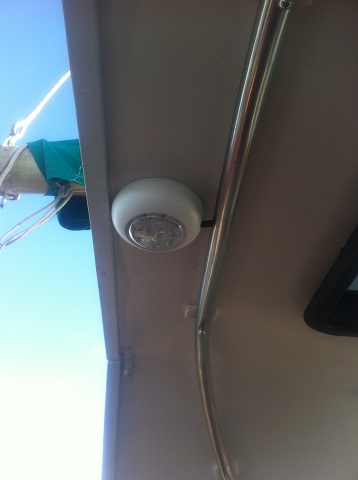 LED light to the ceiling of the pilothouse.
The remaining plywood was used for 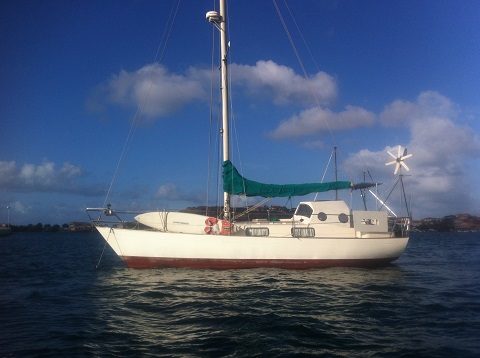 cockpit protection from big waves and unwanted eyes.
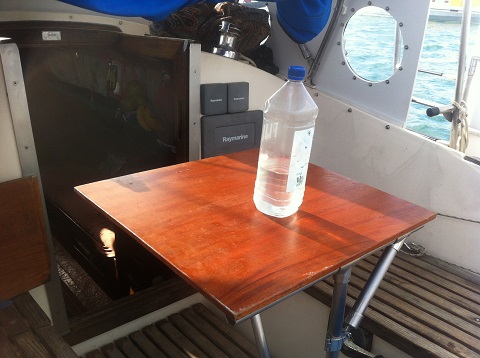
Table
This was the only thing that I missed - the cockpit table! I had a nice varnished board for it. All I needed to add was the support for it. I used 1-inch SS tubing. The table can easily be taken apart and stove for cruising.
March 2019. Auckland. NZ
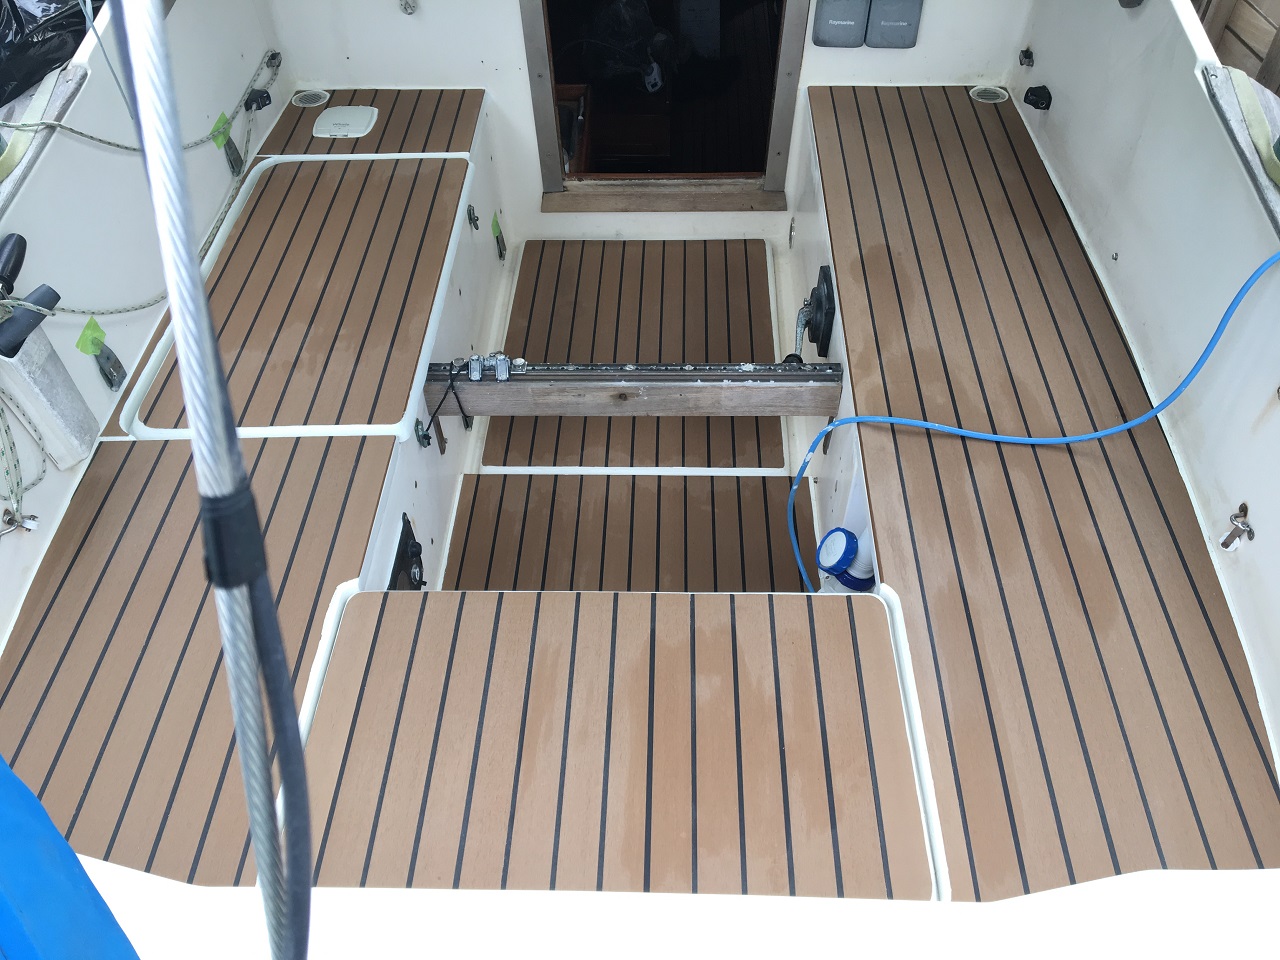
New artificial teak flooring
One of my other ideas has been to replace old teak in the cockpit with an artificial one. Sellers advertise it as an easy to install and maintain, stainless non-skid material, which cost a fraction of the real teak. I was bought by these statements. In practice it happened to have cost almost the same and stains are not easy to remove, especially if spills are not dealt with right away. An expensive fancy linoleum - put it this way.
Interesting enough that 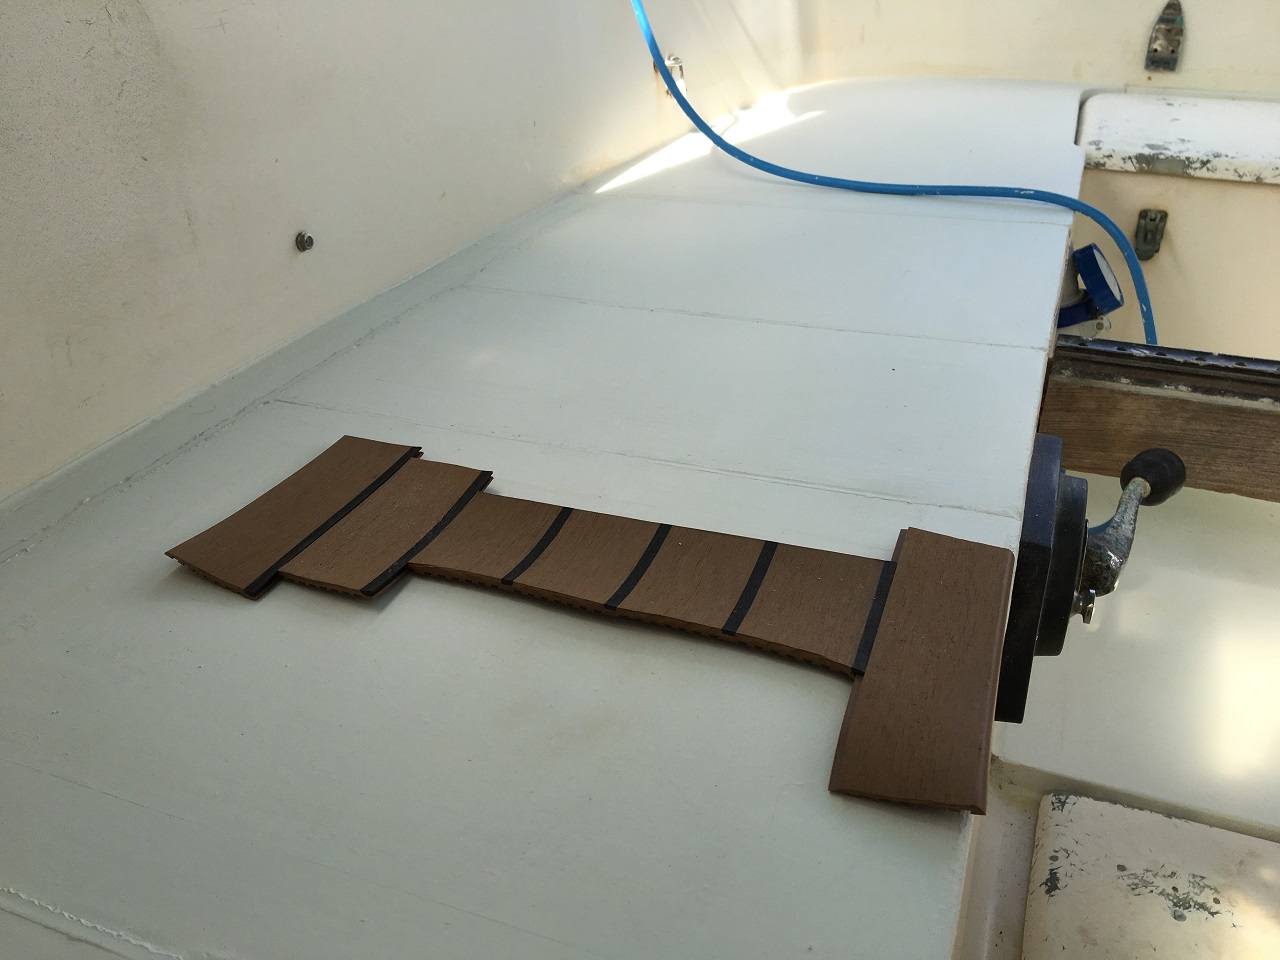 samples that I ordered passed all my tests for stains: wine, oil and diesel spills. I was even able to clean some grease from a frying pan left overnight with moderate efforts. To be fare, I should say that it is better than teak for sure in terms of cleaning.
I had to start with 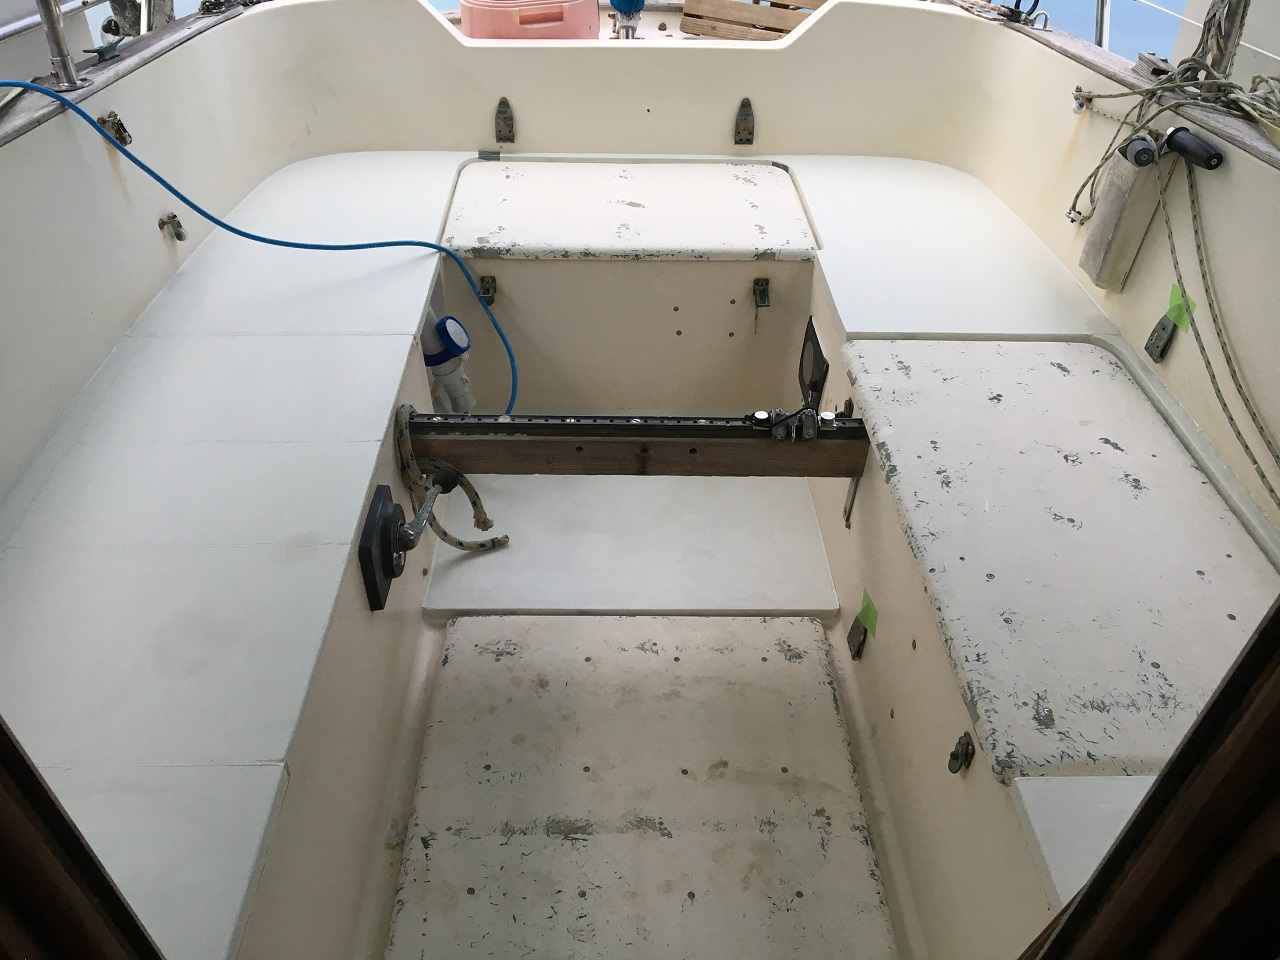 faring the surface with 25mm marine plywood, so the locker's hatches are leveled with the rest of the deck. I painted it with 3-4 coats of epoxy paint, then epoxied it to the deck and secured with SS screws from underneath. All gaps were filled with epoxy sickened with silica powder.
Aft part of the cockpit had bulged a bit and I had to 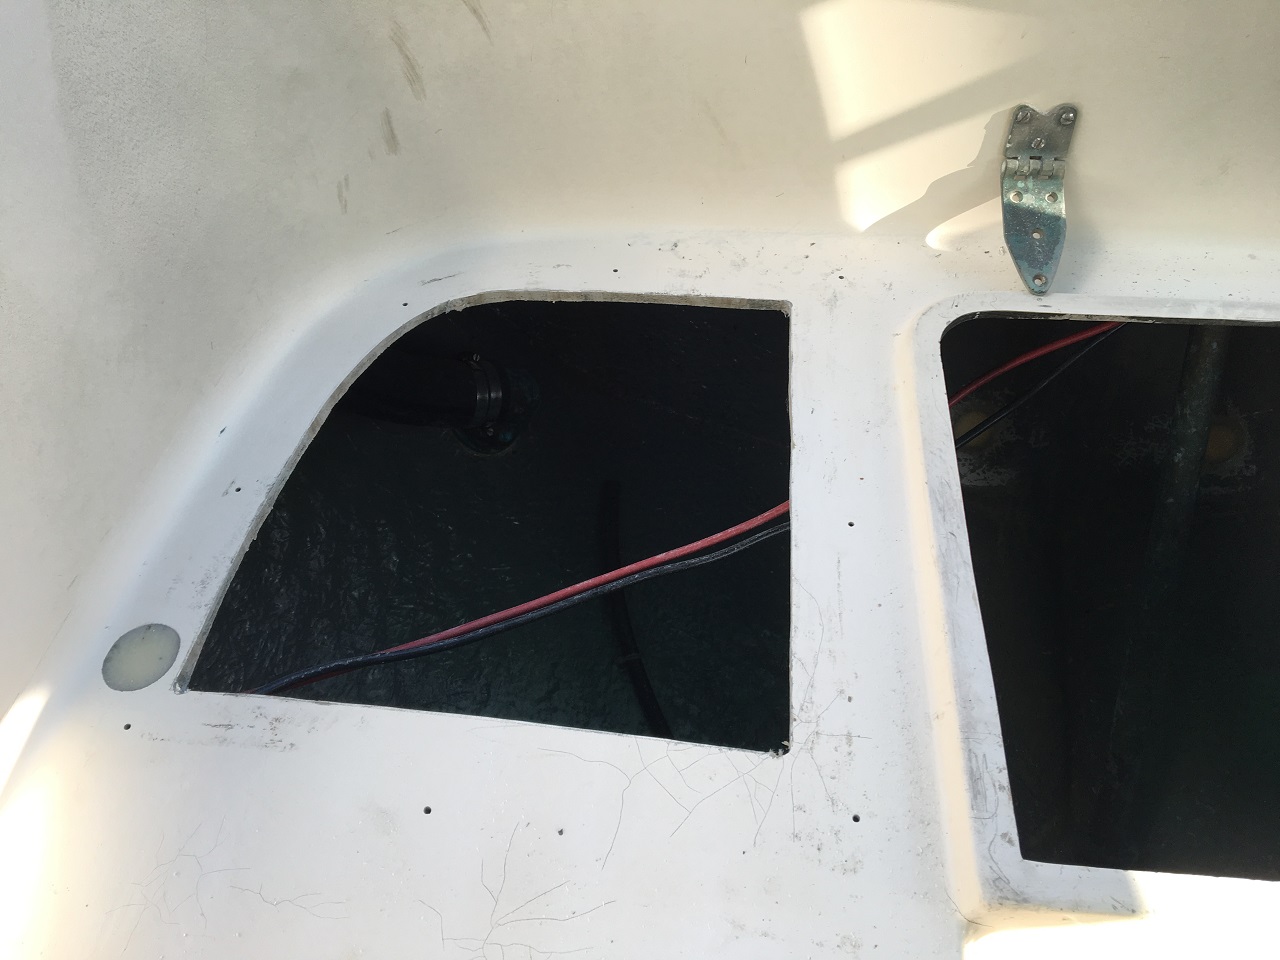 cut large pieces of fiberglass deck out for the plywood to form a flat even surface. Later I epoxied the cut-aways from underneath back and secured with SS screws.
Because old teak planks also served as a load-spreading structural elements over the locker hatches, I needed to 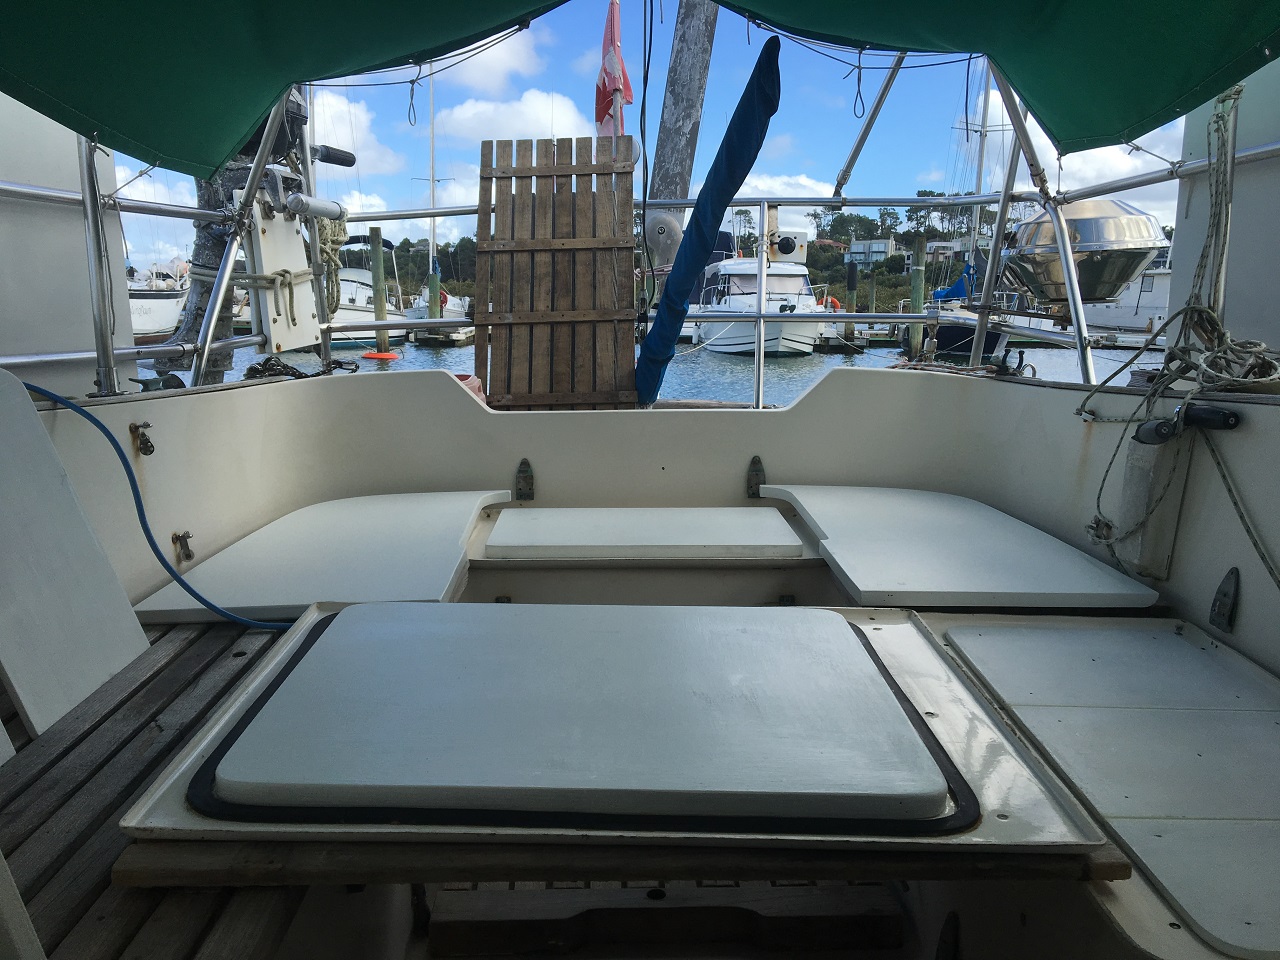 reinforce the hatches by gluing plywood to the inner side and helping with screws from the top.
I had contemplated on the style of layout - traditional or modern - and chose the later for simplicity and savings on material. Traditional style would have required purchasing additional "king planks". It would have been more work as well and more caulking, which is also expensive.
I tried to use construction adhesive to attach the linoleum to the plywood but found that it was more difficult to work with compared to epoxy due to much shorter working time. So I used pure epoxy to prime both surfaces, then epoxy sickened with silica on top of the prime coat. I 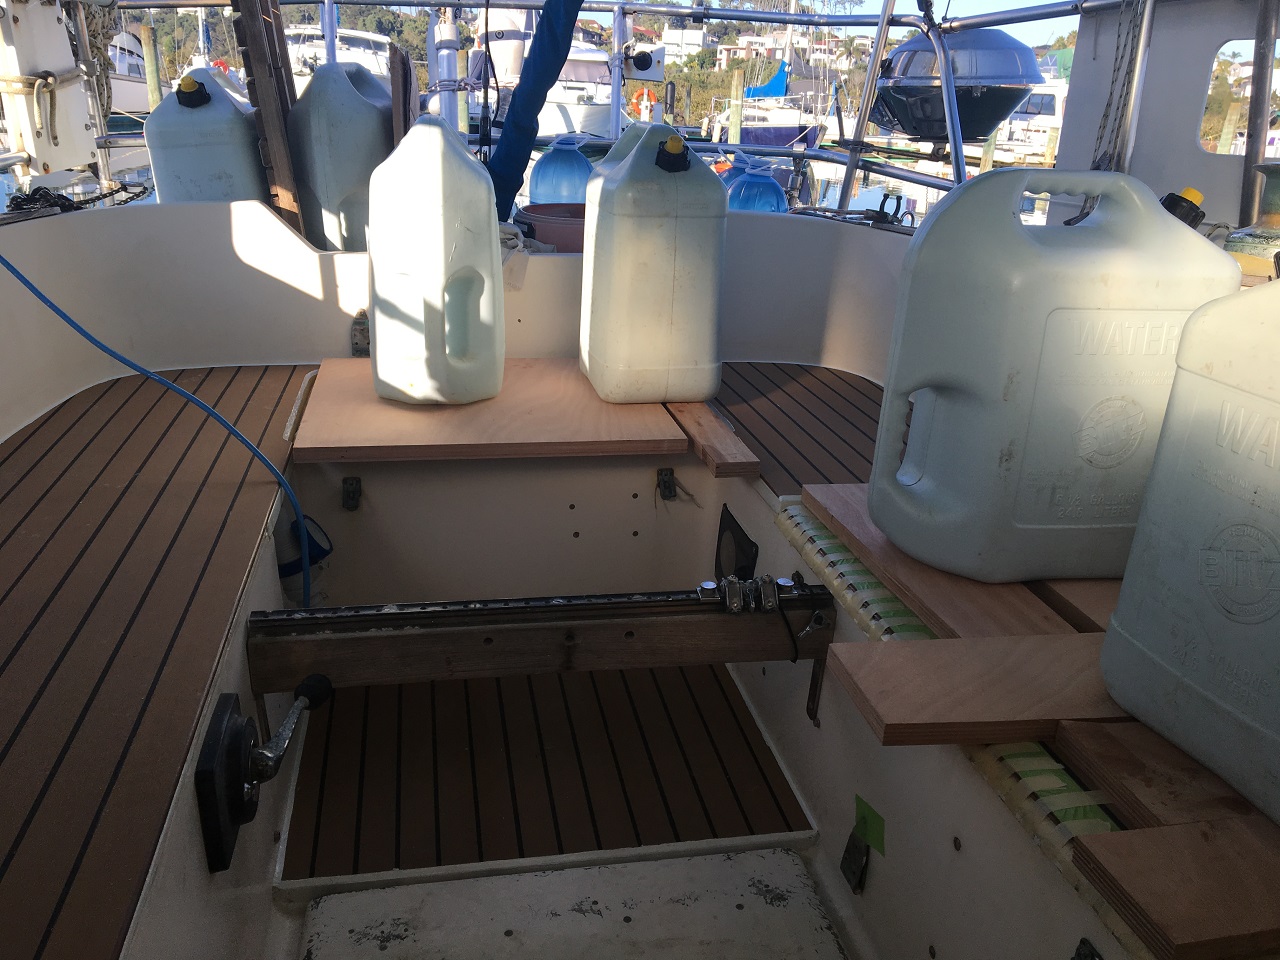 weighed down linoleum with pieces of plywood and water canisters.
For locker hatches I used 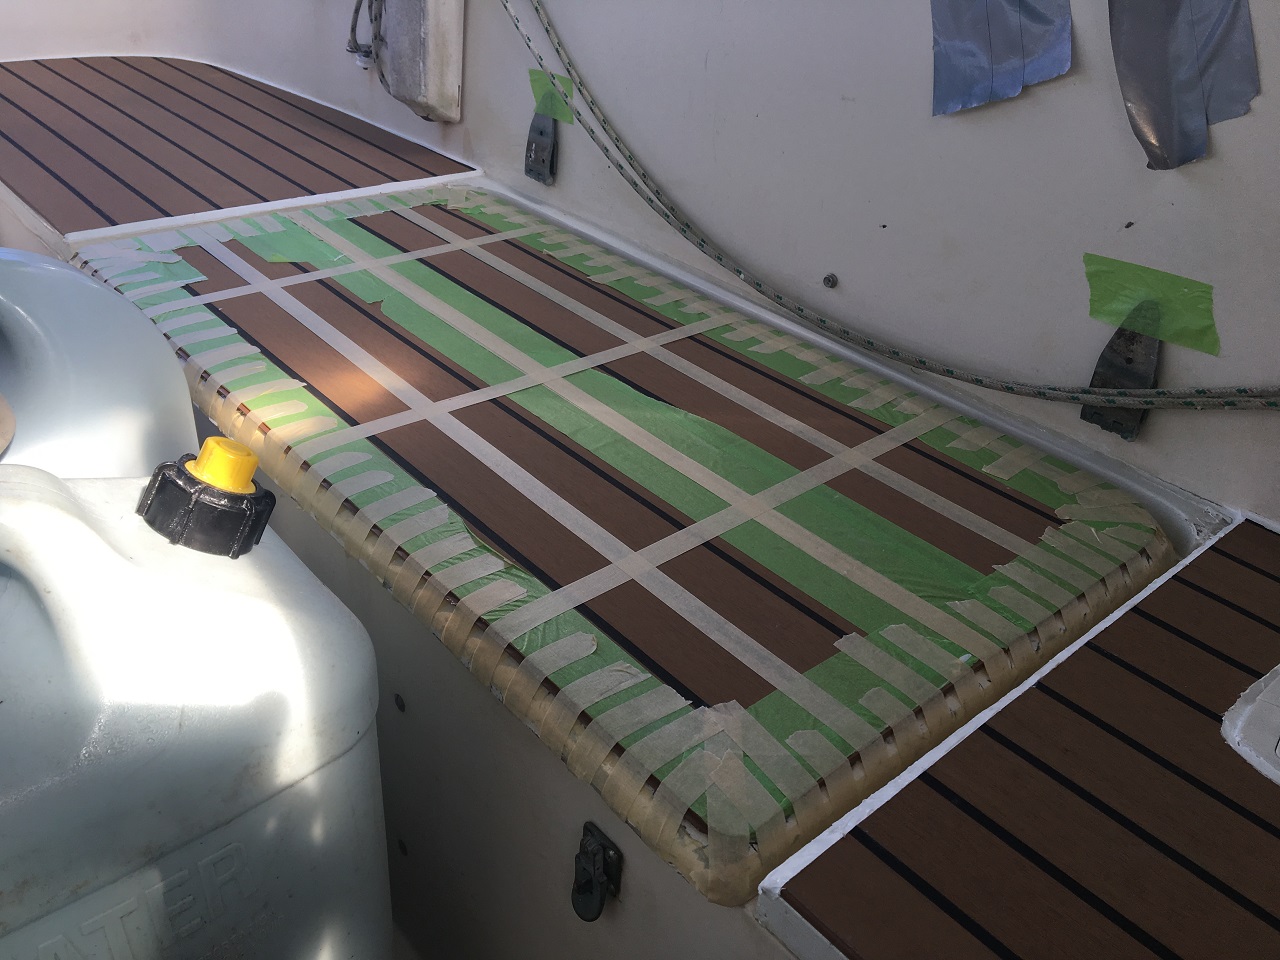 masking tape to hold the edges.
At the end I caulked the edges with white sikaflex. Here is 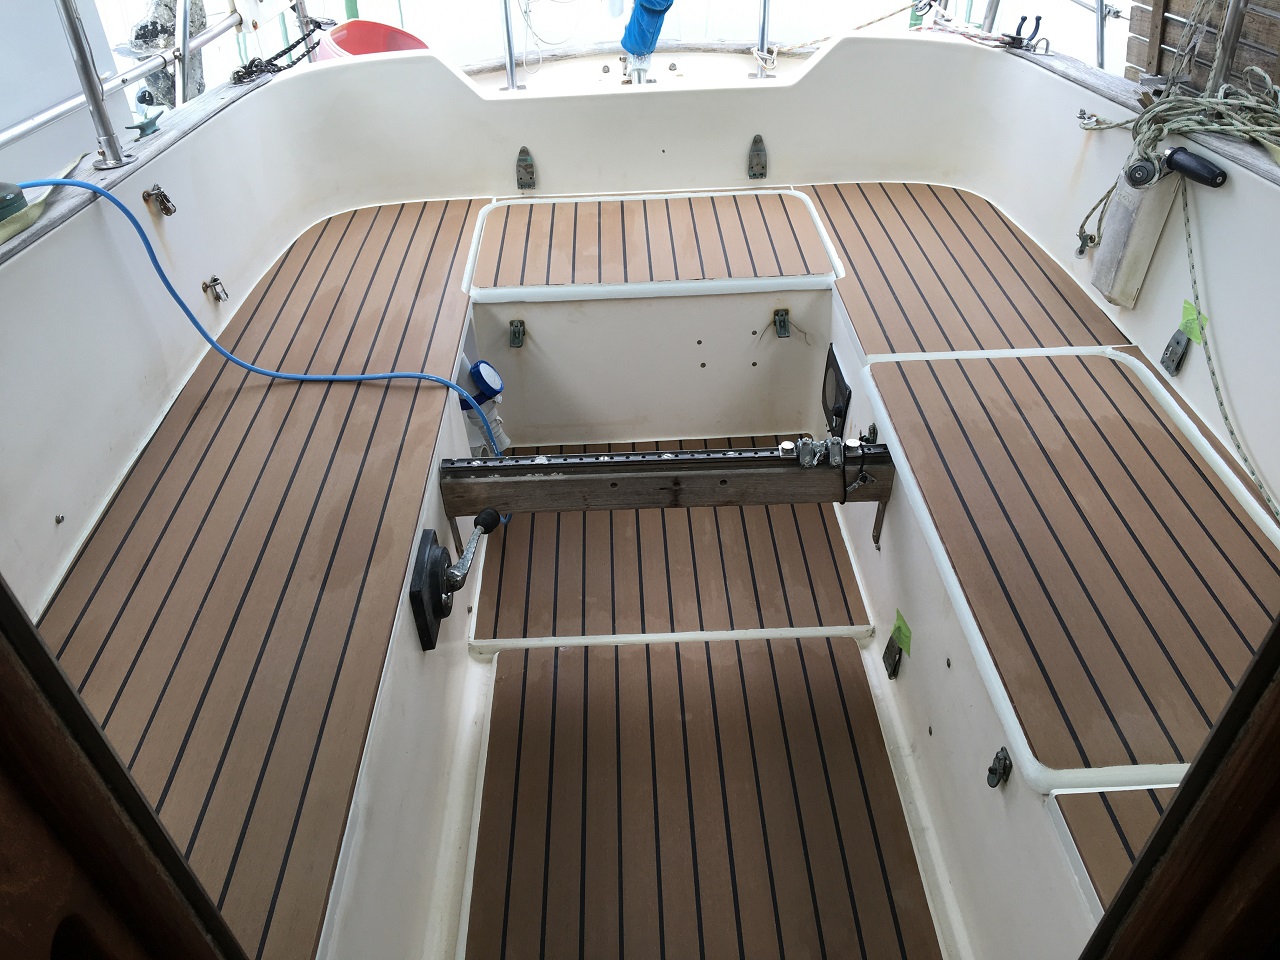 the end result looking from the cabin.
I liked the look of my finished work so much, so I decided to put 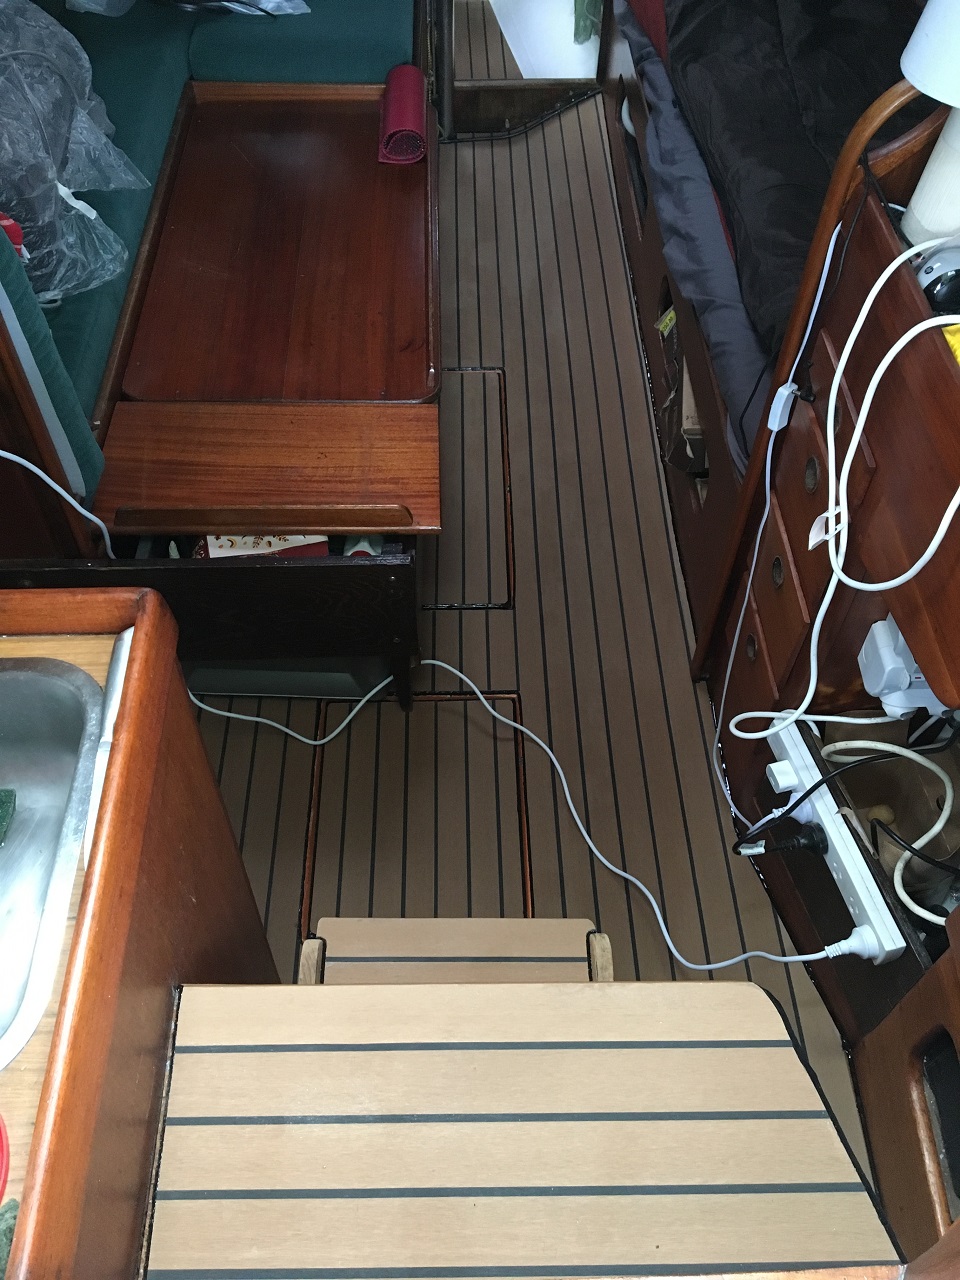 the artificial teak in the cabin too.
Also, I moved the drains to the lowest points and modified the drain system again - even removed two auxiliary 2-inch drains that I had added when I bought the boat. Water was getting to the cockpit through them under certain sailing or motoring conditions.